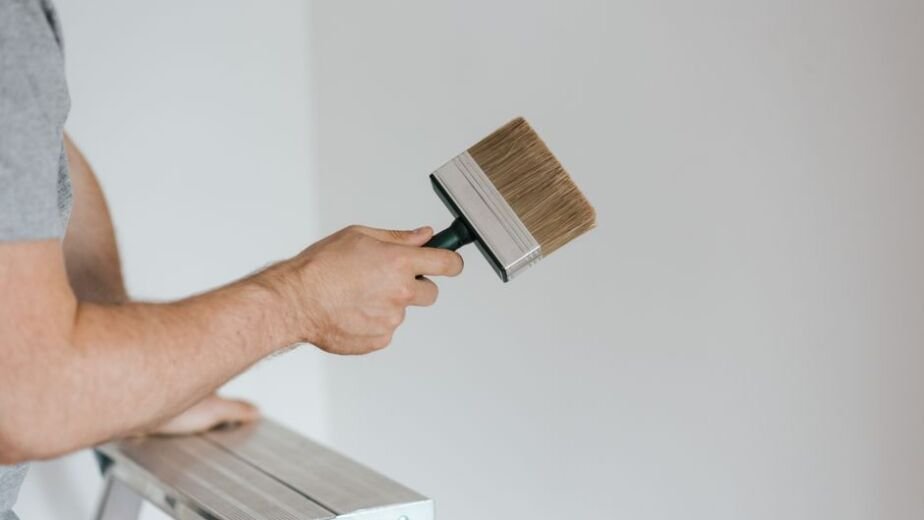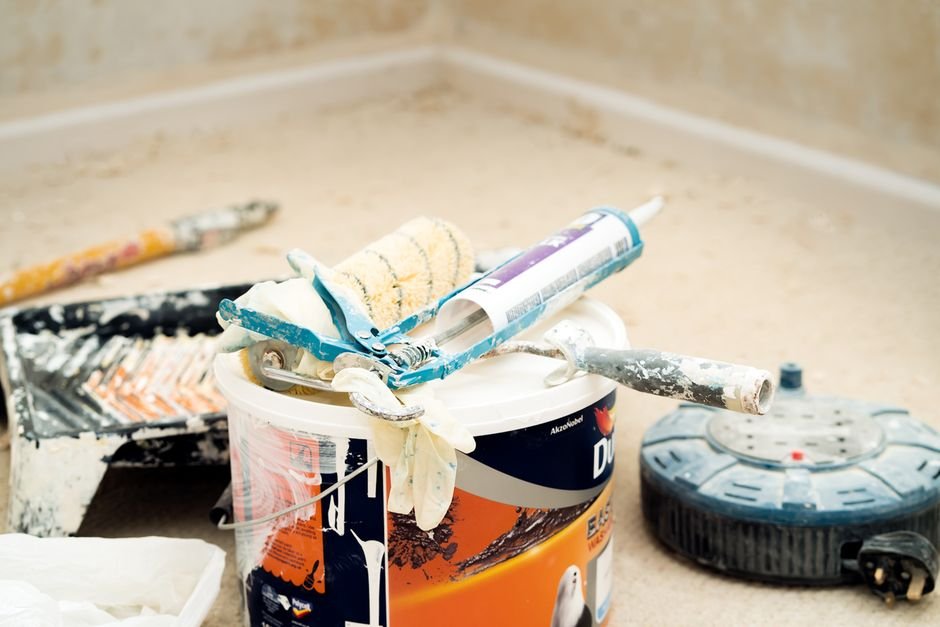
Removing wallpaper before painting might seem like a hassle, but it’s one of the most important steps to getting a professional-looking result. If you’re planning to paint over wallpaper without removing it first, you’re setting yourself up for peeling paint, bubbling, and a finish that won’t last. The good news? It’s totally doable as a DIY project with the right approach and a little patience.
Why You Need to Remove Wallpaper Before Painting
Paint doesn’t stick well to wallpaper, especially older stuff. Wallpaper is designed to sit on the wall as a protective layer, and paint needs to bond directly to the wall surface to hold properly. If you paint over wallpaper, the paint will eventually crack, peel, and bubble because it has nothing solid to grip.
Plus, removing wallpaper gives you a chance to inspect your walls underneath. You might find water damage, mold, or other issues that need fixing before you paint. Trust us, it’s better to deal with these problems now than after your fresh paint job is done.
Tools and Materials You’ll Need
Before you start, gather these supplies so you’re not running around mid-project:
- A wallpaper scoring tool (a small handheld roller with tiny spikes)
- A putty knife or wallpaper scraper with a rounded edge
- A spray bottle filled with warm water
- A natural sponge or rag
- Drop cloths to protect your floors
- Plastic bags or trash cans for debris
- Optional: a wallpaper steamer for stubborn adhesive
You don’t need expensive tools. Most of these items are affordable and available at any home improvement store. The scoring tool is your secret weapon – it pierces the wallpaper so water can soak through to the adhesive underneath.
How to Remove Wallpaper Before Painting: The Process
Here’s the step-by-step breakdown. Take your time with each stage, and you’ll avoid damage to your walls.
Related: How to Remove Mold Before Painting: Step-by-Step Guide
Related: How to Caulk Before Painting: Step-by-Step Guide
Related: How to Patch Drywall Before Painting: Step-by-Step Guide
Step 1: Score the Wallpaper
Start by running your scoring tool gently over the wallpaper in circular motions. This creates small perforations that let water penetrate to the adhesive. Don’t press hard – you’re not trying to gouge the wall underneath, just tickle the surface of the paper.
Work your way across the entire wall systematically. A light touch goes a long way here.
Step 2: Soak the Wallpaper
Fill your spray bottle with warm water (not hot – you don’t want to scald yourself). Spray the scored wallpaper generously and let it sit for about 5 minutes. The water soaks through the perforations and softens the adhesive.
For stubborn wallpaper, let it soak for 10 to 15 minutes before you start scraping. Some old adhesive can be really sticky, so patience pays off here.
Step 3: Peel and Scrape
Starting at a corner, seam, or near a light switch, gently lift the wallpaper with your putty knife. Use a rounded edge so you don’t dig into the drywall. Work slowly and peel the paper away at a low angle.
If the paper doesn’t come off easily, stop and soak that section more. Forcing it will damage your walls and create extra work later. Let the water do the heavy lifting for you.
Step 4: Remove Any Leftover Adhesive
After the wallpaper is gone, you might have sticky residue on the wall. Dampen your sponge with warm water and wipe the wall down to remove any remaining paste. This step is crucial – you can’t prime or paint over adhesive residue.
Wipe the walls clean and let them dry completely before moving to the next step.
When to Use a Wallpaper Steamer
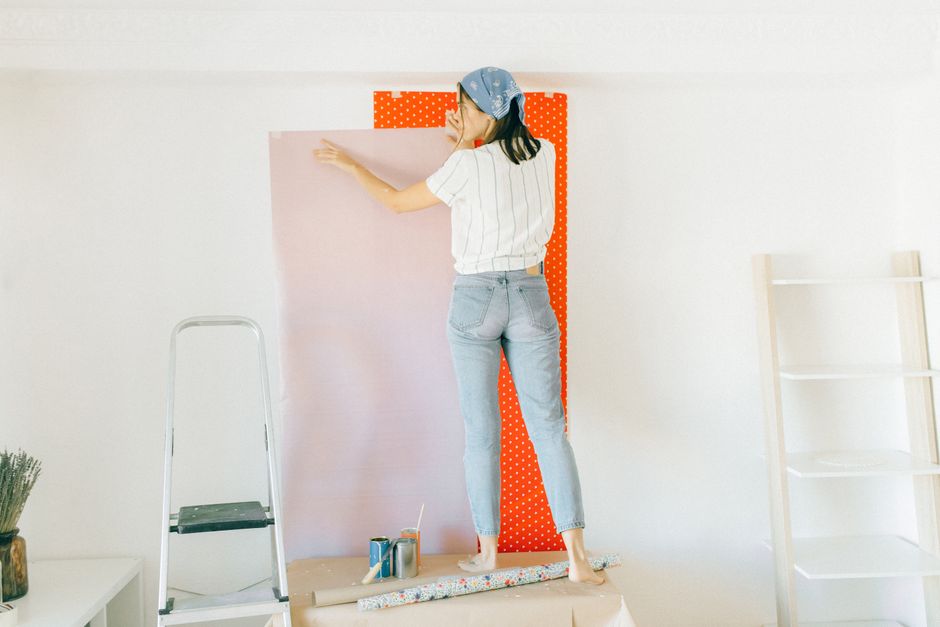
If you’re dealing with multiple layers of old wallpaper or particularly stubborn adhesive, a steamer can be a game-changer. A wallpaper steamer uses hot steam to loosen the adhesive much faster than water alone.
Rent one from a home improvement store if you don’t want to buy. Follow the instructions on the steamer, work carefully to avoid burns, and it’ll cut your removal time significantly. For tough jobs, it’s worth the rental cost.
Preparing Your Walls for Paint After Wallpaper Removal
Once the wallpaper is off and the walls are clean and dry, you’re ready to prep for painting. This is where your wall repair skills come in.
Repair Damaged Areas
Wallpaper removal sometimes leaves small holes, gouges, or rough spots. Use spackling compound or drywall mud to fill these areas. Apply it with a putty knife, smooth it out, and let it dry per the product instructions.
Sand the Walls Smooth
Once repairs are dry, sand the entire wall lightly with fine-grit sandpaper. This smooths out any rough spots and helps primer and paint adhere better. You’re not trying to sand down the wall – just create a smooth, even surface.
Prime Before Painting
This step is non-negotiable. Apply an oil-based primer to the entire room before you paint. Primer seals the wall, evens out absorption, and gives your paint a solid foundation to stick to. Skipping primer is a rookie mistake that leads to uneven color, poor coverage, and paint that doesn’t last.
Once primer is dry, you’re ready for your finish paint coats. Two coats is standard for most jobs, but one thick coat might work if you’re just refreshing an already-painted surface.
Should You Hire a Professional?
Wallpaper removal is labor-intensive and messy, but it’s definitely doable as a DIY project. If you’re confident in your patience and attention to detail, go for it. Just budget extra time – it always takes longer than expected.
If you’d rather hand this off to someone who does it all day, every day, Nu-Trend Painting Inc handles the entire process from wallpaper removal through the final paint coat. They’ve been helping homeowners in St. Petersburg and Pinellas County for over 35 years, and they know how to prep walls the right way.
Common Wallpaper Removal Mistakes to Avoid

Learn from others’ mistakes so you don’t repeat them.
- Painting over wallpaper: This is the biggest one. Paint won’t stick and will peel within months.
- Rushing the soaking step: Patience saves time. Soak longer if the paper isn’t coming off easily.
- Using too much force: You’ll puncture the drywall and create repair work. Let water soften the adhesive instead.
- Skipping primer: Primer is not optional. It seals the wall and makes paint look better and last longer.
- Painting before walls are completely dry: Moisture under fresh paint causes bubbling and peeling.
Final Checklist Before You Paint
Before you crack open that first paint can, make sure you’ve checked off these items:
- All wallpaper is removed
- Walls are clean and dry
- All damaged areas are repaired and sanded smooth
- The room is prepped with drop cloths and plastic sheeting
- Primer has been applied and is fully dry
- You’ve chosen your paint color and have the right amount on hand
If you’re feeling uncertain about any step in the process, or if you’d rather focus on the fun part (choosing your new paint color) while professionals handle the prep work, that’s what Nu-Trend Painting Inc is here for. Request a free estimate to discuss your project and see how they can help.
People Also Ask
Can you paint directly over wallpaper?
No, you shouldn’t. Paint won’t adhere to wallpaper properly, and it will peel and bubble within a few months. Always remove wallpaper first, then prime and paint the bare wall.
How long does it take to remove wallpaper from a room?
It depends on the room size, wallpaper condition, and how many layers you’re dealing with. A small bedroom might take a few hours. A large room or heavily layered wallpaper could take a full day or more. Budget generously – it’s better to finish early than rush at the end.
What if the wallpaper won’t come off?
Let it soak longer. If soaking doesn’t work, try a wallpaper steamer. Some old adhesive is incredibly stubborn, but steam breaks it down quickly. If you’re still struggling, that’s a sign it might be time to call in a pro.
Do I need to prime after removing wallpaper?
Yes. Primer seals the wall surface, evens out paint absorption, and gives your finish coats something solid to grip. Always prime before painting, even if the wall looks clean and smooth.