
Here’s the truth: caulking before painting is one of those prep steps that separates a sloppy paint job from a polished, professional one. If you skip it or do it wrong, your new paint won’t hide gaps around trim, windows, or baseboards—and that’s where everyone’s eyes go first.
This guide walks you through exactly how to caulk before painting, what tools you need, and the technique pros use to get clean, crisp lines every time.
Why Caulking Matters Before You Paint
Small gaps between trim and walls, around window frames, or along baseboards look fine until you paint over them. Then they become super obvious—like a neon sign saying “this job wasn’t finished right.”
Caulking fills those gaps and creates a smooth, continuous line. When you paint over it, everything looks seamless and intentional. It’s not just about looks either—caulk also seals gaps that can let air, moisture, or pests through.
The timing is critical. You want to caulk *before* you paint, not after. This gives you a clean canvas to paint over and means you won’t accidentally get paint on caulk that’s still wet or tacky. If you’re working with Nu-Trend Painting Inc on a bigger project, this sequencing is built into the professional workflow to make sure everything dries and cures properly.
Tools You’ll Need for Caulking
You don’t need much, but having the right stuff makes a huge difference.
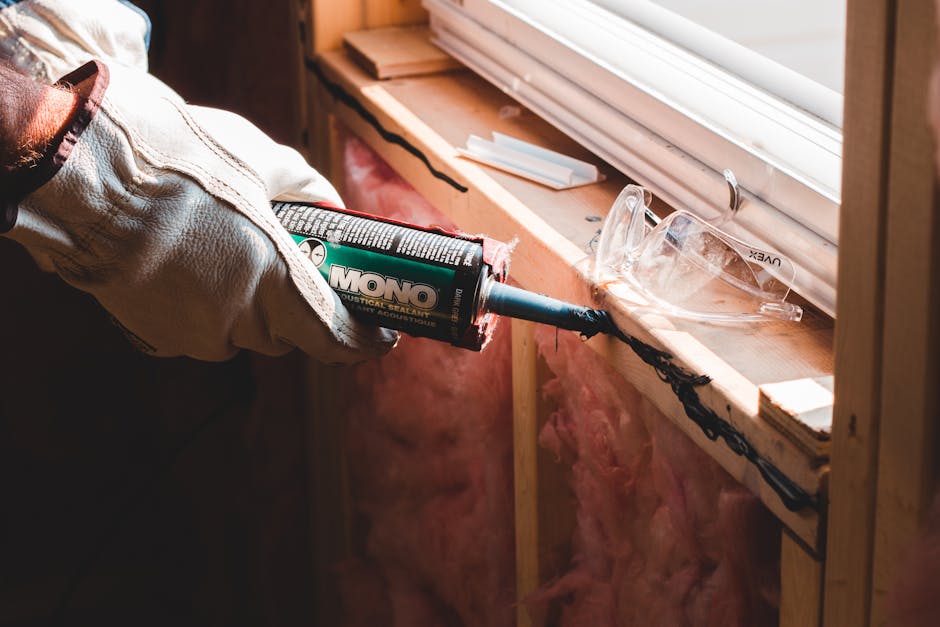
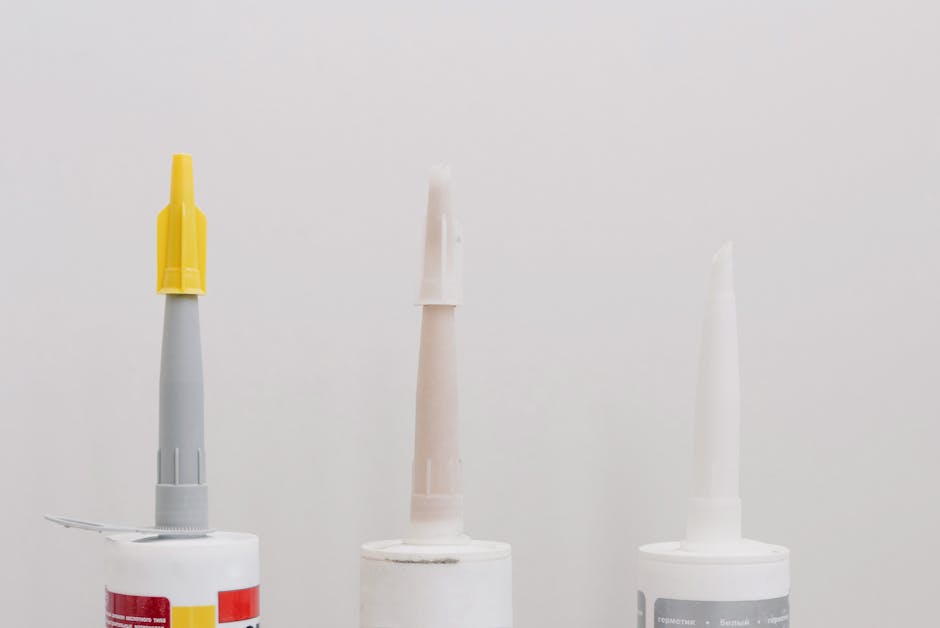
- Caulking gun: This is the tool that holds the caulk tube and lets you squeeze it out in a controlled way. A basic one works fine.
- Caulk: Acrylic latex caulk is the go-to for most interior trim work. It’s paintable, cleans up with water, and doesn’t shrink much as it dries.
- Caulk smoothing tool: A plastic tool designed to smooth the bead after you apply it. Cheap and essential for clean lines.
- Damp cloth or sponge: Sometimes you’ll smooth caulk with a damp finger or cloth instead of a tool. Have water nearby.
- Drop cloth or painter’s tape: Caulk can get messy. Tape off areas you don’t want it on, or just work carefully.
- Utility knife: For removing excess caulk or cleaning up dried drips.
How to Caulk Before Painting: The Step-by-Step Process
Follow this sequence and you’ll get results that look intentional and professional.
Related: How to Remove Mold Before Painting: Step-by-Step Guide
Related: How to Remove Wallpaper Before Painting: Step-by-Step Guide
Related: How to Patch Drywall Before Painting: Step-by-Step Guide
Related: What Grit Sandpaper Before Painting: Complete Guide
Related: How to Prep Walls Before Painting: Step-by-Step Guide
Step 1: Clean and Prep the Gaps
Before you apply any caulk, the gap needs to be clean and dry. Wipe out dust, debris, and any old caulk with a dry cloth or old paintbrush. If there’s dirt buildup, use a vacuum or compressed air to get it out.
Wet gaps won’t accept caulk properly. If the area is damp, let it dry completely. This is especially important around windows or in bathrooms.
Step 2: Load the Caulking Gun
Cut the tip of the caulk tube at a 45-degree angle, about 1/8 inch from the end. The smaller the opening, the thinner your bead will be. Start small—you can always apply more.
Load the tube into the gun, pull back the plunger, and you’re ready to go.
Step 3: Hold the Gun at 45 Degrees
This is the golden rule for smooth, even caulk. Position the gun so the tube is at a 45-degree angle to the joint or gap you’re filling. This angle lets the caulk flow smoothly out of the tip and into the gap without bunching up or leaving gaps.
If you hold it straight on (90 degrees), you’ll push caulk into the gap but won’t get a clean bead. If you angle it too shallow, the caulk won’t fill the gap completely.
Step 4: Apply in One Steady Motion
This is where patience pays off. Squeeze the trigger gently and move the gun along the gap in one continuous, steady motion. Don’t stop and start unless you have to—stopping creates little bumps and uneven lines.
Go slow. A steady speed gives you an even bead width the whole way. If you rush, you’ll over-apply in some spots and under-apply in others.
Step 5: Smooth the Caulk Immediately
Right after you apply the caulk (within a minute or two), smooth it with a caulk finishing tool or a damp finger. This presses the caulk into the gap and wipes away excess, creating a clean, concave line that looks professional.
If you use a tool, run it along the bead in one smooth motion. If you use your finger, wet it first and work quickly. The longer you wait, the harder the caulk gets, and smoothing becomes tougher.
Step 6: Let It Cure Before Painting
Check the caulk tube for drying time—most acrylic latex caulks dry in 1-3 hours, but some take longer. Don’t paint over it until it’s completely dry and no longer tacky to the touch. If you paint too early, the wet caulk will smear and you’ll end up redoing it.
When it’s dry, the caulk shrinks slightly but it should still be smooth and paintable. If you see any cracks or gaps after it dries, apply another thin bead and smooth it again.
Common Caulking Mistakes to Avoid
Even small mistakes show up after you paint, so watch out for these.
- Applying caulk to a wet surface: Water prevents caulk from bonding. Always work on clean, dry gaps.
- Holding the gun at the wrong angle: Anything other than 45 degrees creates messy beads and gaps in the joint.
- Using the wrong caulk type: Silicone caulk is waterproof but doesn’t paint well. Stick with acrylic latex unless you’re caulking a wet area like a shower.
- Not smoothing immediately: If the caulk starts to skin over before you smooth it, it gets harder to work with and the finish looks rough.
- Over-filling gaps: A thick glob of caulk looks worse than a thin, even bead. Better to apply two thin coats than one thick one.
- Skipping prep work: Old caulk, dust, and debris underneath mean your new caulk won’t stick or look clean.
Where to Caulk Before Painting
Focus your caulking efforts on the joints and gaps that people actually look at and where they make the biggest visual impact.
- Around window trim: Where the trim meets the wall is the most visible caulked joint in most rooms. Get this one right and your whole room looks finished.
- Between baseboard and wall: Baseboards that are caulked and painted look clean and intentional. Gaps make the whole wall look sloppy.
- Inside corners where trim meets: Crisp, clean corners are a hallmark of professional work.
- Around door frames: Just like windows, the joint between door trim and wall should be seamless.
- Gaps in crown molding: If you have crown molding, caulk where it meets the wall and ceiling for a finished look.
When to Call a Professional for Caulking and Painting
Caulking is doable as a DIY task if you’re detail-oriented and patient. But if you’re painting a whole house or doing a lot of trim work, it’s worth asking whether professional prep is worth your time.
Nu-Trend Painting Inc handles the full sequence—caulking, surface prep, painting, cleanup—as part of their standard job. The caulking is done by people who do it every day, so the lines are consistent and clean. If you’re painting interior trim, exterior fascia, or baseboards in your St. Petersburg or Pinellas County home and you want a flawless finish, reaching out for a free estimate takes the guesswork out of the project.
Tips for Getting Professional Results
Even if you’re caulking a small project yourself, these habits will elevate your finish.
- Practice on scrap wood first: Before you caulk your actual trim, do a few practice beads on leftover trim or cardboard. You’ll get a feel for the speed and pressure you need.
- Use good light: You need to see what you’re doing. Natural light or a bright work light shows up drips and uneven beads that artificial overhead light misses.
- Work in comfortable temperatures: Caulk applies and cures better when it’s between 50 and 85 degrees. Too cold and it won’t flow right. Too hot and it dries too fast to smooth.
- Buy quality caulk: Cheap caulk shrinks more, sags, and looks grainy after painting. A good acrylic latex caulk costs a bit more but the difference is obvious once painted.
- Keep a damp cloth nearby: Wipe excess caulk off the gun, your hands, and tools immediately. Dried caulk is a pain to remove.
Caulking and Painting: A Complete Picture
Caulking before painting is honestly one of those tasks that doesn’t look hard until you try it. The technique is simple—45-degree angle, steady motion, smooth immediately—but getting it right takes focus and a little practice.
The payoff is immediate though. Once you paint over clean, even caulk lines, your trim pops, your baseboards look intentional, and the whole room feels more polished. That’s why this step matters so much to painters who care about their work.
If you’re tackling a bigger project or you’re not confident about the caulking step, Nu-Trend Painting Inc has been handling interior and exterior painting jobs throughout the St. Petersburg area for over 35 years. The team knows how to caulk trim, baseboards, and architectural details so the paint job looks seamless. Reach out for a free estimate if you want to hand off the prep and painting to professionals.
People Also Ask
Can you caulk after painting?
Technically yes, but it’s not ideal. Caulk sticks better to bare surfaces than to paint. If you paint first, the caulk won’t adhere as well and may peel or shrink more visibly. The standard sequence is caulk first, then paint, so the paint seals the caulk and everything looks uniform.
What’s the difference between caulk and sealant?
Caulk is flexible and paintable—it’s what you use for trim gaps and joints inside your home. Sealant is usually silicone or polyurethane and doesn’t paint well, but it’s waterproof and more durable for wet areas like bathrooms or kitchens. For caulking before painting trim, stick with acrylic latex caulk.
How long does caulk take to dry before painting?
Most acrylic latex caulks dry to the touch in 1-3 hours, but check your specific product label. A good rule is to wait at least 24 hours before painting to make sure it’s fully cured and won’t smudge or get pushed around by the brush or roller. When in doubt, wait longer rather than shorter.
What happens if you don’t caulk before painting trim?
Your paint will sit on top of the gaps and won’t fill them in. Gaps around trim, windows, and baseboards will still be visible after painting, and the finish will look incomplete or sloppy. You also miss out on sealing those gaps against air and moisture. Caulking is a small step that makes a big visual difference.