If you’re looking at a moldy wall or ceiling and wondering how to remove mold before painting, here’s the honest truth: you can’t just slap paint over it and hope for the best. Mold will keep growing underneath, destroy the paint job, and make your whole project a waste of time and money. The good news? The process is straightforward, and you can handle it yourself or bring in professionals. Let’s walk through exactly what you need to do.
Why You Can’t Paint Over Mold
Mold is a living organism. It feeds on moisture and organic material. When you paint over mold, the paint seals in the problem instead of solving it. The mold keeps spreading underneath the paint, eating away at the surface, and eventually the paint peels, bubbles, or cracks. You’ll end up redoing the whole job.
More importantly, mold can pose health risks, especially in bathrooms, kitchens, or basements where moisture is high. Before any painting project in a moldy area, mold removal comes first, period.
Related: How to Prep Walls Before Painting: Step-by-Step Guide
Related: How to Remove Wallpaper Before Painting: Step-by-Step Guide
Related: How to Patch Drywall Before Painting: Step-by-Step Guide
Related: How to Caulk Before Painting: Step-by-Step Guide
Related: What Grit Sandpaper Before Painting: Complete Guide
Step 1: Power Wash and Remove Loose Debris
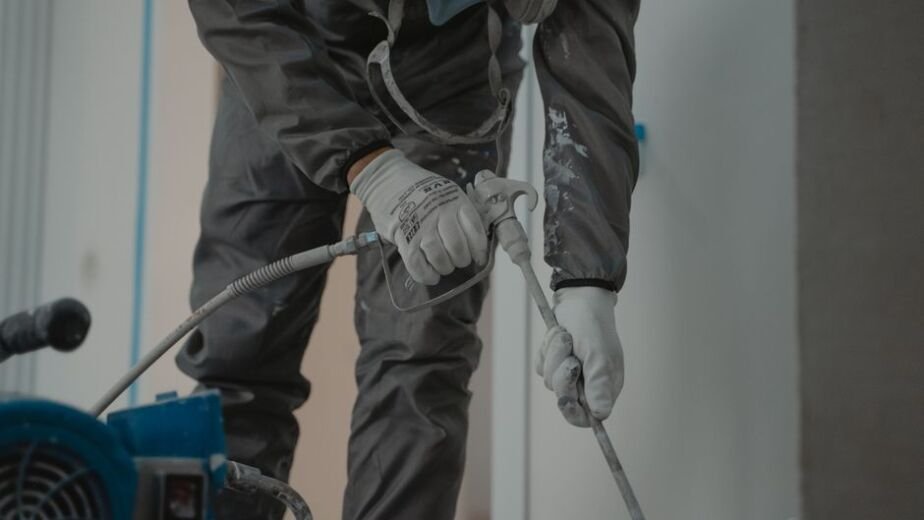
Start by clearing away loose dirt, dust, and debris. If you’re dealing with an exterior surface or a heavily soiled area, a power washer works great for this initial pass. Keep the pressure moderate—you don’t want to damage the underlying surface.
For interior walls, a stiff brush and vacuum are enough to remove surface dust and loose material. The goal here is simple: get rid of anything loose so your cleaning solution can actually reach the mold.
Step 2: Choose Your Mold-Killing Cleaning Solution
You have several effective options for killing mold. Pick one based on what you have on hand or what you’re comfortable using:
- Bleach and water: Mix a 3-to-1 ratio of water to bleach. This is the standard approach used by house painters everywhere. It’s cheap, effective, and readily available.
- Hydrogen peroxide and rubbing alcohol: Combine 3 parts hydrogen peroxide with 1 part isopropyl alcohol and a splash of dish soap. This option works well if you prefer to avoid bleach.
- White vinegar or straight hydrogen peroxide: Both are natural mold killers and less harsh than bleach. They work slower but are gentler on surfaces and your lungs.
- Commercial mold-killing cleaners: There are household products specifically formulated to kill mold. Follow the label instructions on any commercial product you choose.
Whatever you pick, make sure it’s designed to actually kill mold—don’t just use a general-purpose cleaner.
Step 3: Apply the Solution and Let It Sit
Spray or apply your chosen cleaning solution generously over the moldy area. Don’t skimp—you want the mold fully saturated. Once applied, let it sit for 10 to 15 minutes. This contact time is what kills the mold, not just the scrubbing. If you’re using a weaker solution like vinegar, give it more time to work.
If the mold is thick or stubborn, you can let it sit a bit longer, but don’t leave it for hours and hours.
Step 4: Scrub the Surface Thoroughly

After the solution has had time to work, scrub the area hard with a stiff brush and detergent mixed with water. You’re physically removing the mold and any remaining spores. Don’t be gentle here—put some muscle into it.
For porous surfaces like drywall or ceiling tiles, scrubbing is critical. For smooth surfaces like tile or metal, a good scrub usually does the job. Pay special attention to corners and edges where mold likes to hide.
Step 5: Rinse with Clean Water
Once you’ve scrubbed thoroughly, rinse the area with clean water. You want to wash away all the cleaning solution, dead mold, and debris. A second rinse is often worth the effort to make sure nothing is left behind.
For exterior surfaces, a light power wash rinse works well. For interior walls, a damp cloth or sponge and clean water will do the trick.
Step 6: Dry Completely Before Painting
This step cannot be overstated: the surface must be completely dry before you paint. Moisture trapped under paint causes peeling and allows new mold to grow. Depending on your climate and humidity, this could take 24 to 48 hours or even longer.
Open windows and doors, use fans to increase air circulation, and if possible, use a dehumidifier in the room. On humid days or in naturally damp areas, patience is your best friend. Check the surface with your hand—it should feel dry to the touch, not cool or clammy.
Step 7: Seal the Surface (Especially Important for Porous Materials)
Once the surface is dry, consider applying a mold-inhibiting primer or sealant before painting. This creates a protective barrier that helps prevent mold from coming back. For bathrooms, kitchens, and other high-moisture areas, this extra step is worth the investment.
If you’re unsure which primer to use or how to apply it properly, Nu-Trend Painting Inc can advise you on the best approach for your specific situation and handle the whole process professionally.
Special Considerations: Porous vs. Non-Porous Surfaces
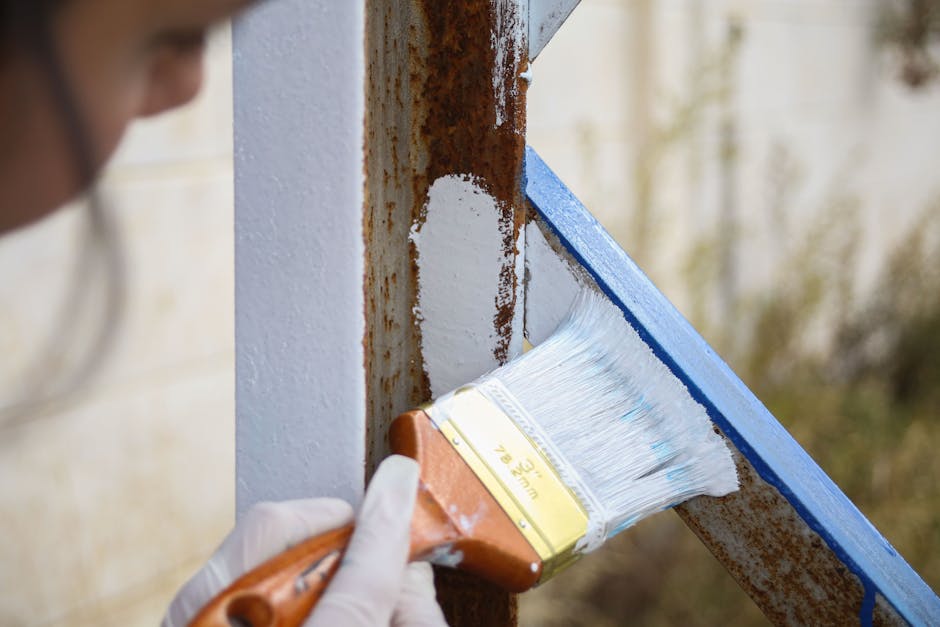
Drywall, ceiling tiles, insulation, and carpet are porous materials. If mold has penetrated deeply into these materials, cleaning might not be enough. In many cases, replacement is the only reliable solution. Trying to save a heavily molded ceiling tile usually backfires—the mold returns, and you end up replacing it anyway.
Non-porous surfaces like tile, metal, glass, and finished wood can usually be cleaned and painted successfully. The mold doesn’t penetrate as deep, so thorough cleaning and drying work well.
When in doubt about whether to clean or replace, it’s better to replace. The cost of doing it right the first time beats the frustration of mold coming back.
Pro Tips for Success
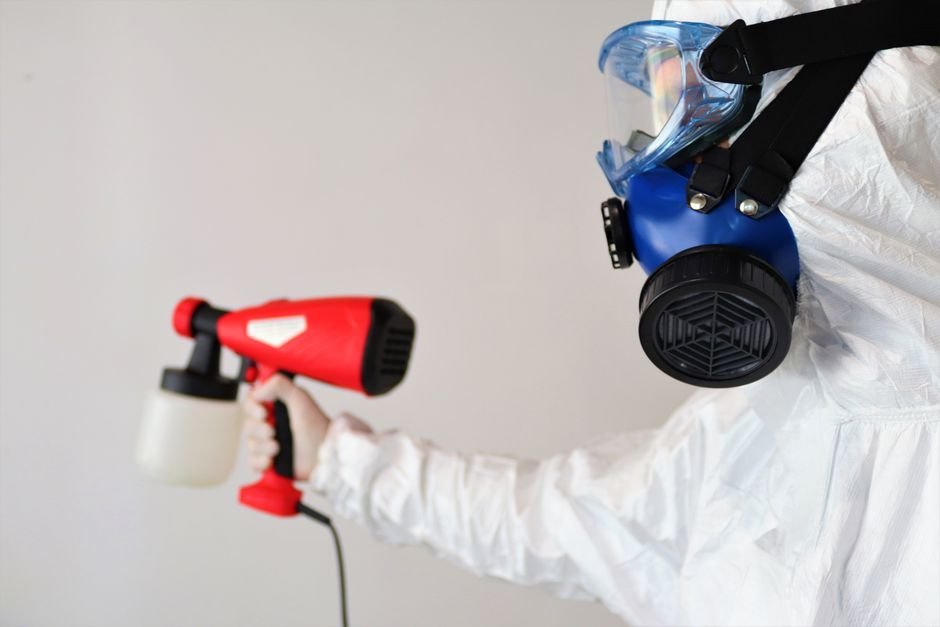
Protect yourself: Wear gloves, eye protection, and a respirator or mask when working with mold. Open windows and ventilate the area well, especially if you’re using bleach.
Test first: If you’re worried about a cleaning solution damaging the paint or surface, test it on a hidden area first.
Address the moisture source: Mold always means moisture. After cleaning, figure out where the water is coming from. Is it a leak? High humidity? Poor ventilation? Fix the root cause, or mold will come back.
Don’t rush the drying: This is the most common mistake. People clean the mold, wait a few hours, and start painting. Then they wonder why the mold comes back. Give it the full drying time.
When to Bring in a Professional
Mold removal is something many homeowners tackle themselves, and that’s fine for small areas. But if the mold covers a large area, if it’s in an HVAC system, or if you’re not comfortable working with bleach and mold, hiring a professional makes sense.
When you’re ready to paint after the mold is gone, Nu-Trend Painting Inc brings over 35 years of experience handling these kinds of projects across St. Petersburg and Pinellas County. The team knows exactly how to prep moldy surfaces, what primers to use, and how to ensure the job lasts. If you want the peace of mind that comes with professional work, they’re worth a call for a free estimate.
Common Questions About Mold Removal Before Painting
How long does it take for mold to die after cleaning?
Most mold dies within 10 to 15 minutes of exposure to a proper cleaning solution. However, you still need to scrub to physically remove the dead mold and spores. The whole process, including drying, takes much longer—typically 24 to 48 hours before you can paint.
Can I use just water to clean mold?
Plain water alone won’t kill mold, though it can help rinse away the dead mold after you’ve used a cleaning solution. Water is part of the process, but it’s not the main fighter. You need a cleaning solution that actually kills mold.
What if mold comes back after I paint?
If mold returns, it means either the moisture source wasn’t fixed, the surface wasn’t fully dried before painting, or the mold had already penetrated too deep into porous material. Go back to step one and identify the moisture problem. Then decide whether the area needs to be cleaned again or replaced. Using a mold-inhibiting primer can help prevent recurrence.
Is it safe to paint over mold with special paint?
No. Mold-resistant or antimicrobial paint cannot kill existing mold—it only helps prevent new mold from growing on the painted surface. You have to remove the mold first. There’s no paint that can solve a mold problem on its own.