Here’s the truth: wall prep determines whether your paint job looks amateur or professional. You can buy the best paint on the market, but if your walls aren’t prepped properly, it’s going to show in the final result.
The good news? Wall prep isn’t complicated. It just takes patience and a systematic approach. Whether you’re painting a single bedroom or an entire home, the same principles apply.
Why Wall Prep Actually Matters
Paint sticks best to clean, smooth surfaces. If you skip prep, your new paint won’t adhere properly. It can peel, crack, or develop uneven coverage. You’ll end up redoing the work in a year or two, which costs more in the long run.
Proper prep also catches problems early. You might discover water stains, mold, or damage that needs special attention before you paint over it. Catching these issues now saves you headaches later.
Step 1: Inspect Your Walls Closely
Walk around the room with good lighting. Look for water stains, discoloration, mold, peeling paint, cracks, holes, and glossy or uneven surfaces. Make mental notes of problem areas.
Water stains or discoloration often indicate moisture problems. These need a primer designed to block stains before you apply finish paint. Mold requires cleaning and may need professional assessment. Glossy walls (common on trim or older bathrooms) will need sanding to help new paint stick.
This inspection takes 10 minutes and saves you frustration during painting.
Step 2: Patch Holes and Fill Cracks
Use spackling compound or joint compound for nail holes and small cracks. Apply it with a putty knife, pressing it firmly into the hole. Let it dry completely (usually 1-2 hours), then sand it smooth with fine-grit sandpaper.
Related: What Grit Sandpaper Before Painting: Complete Guide
Related: How to Remove Mold Before Painting: Step-by-Step Guide
Related: How to Remove Wallpaper Before Painting: Step-by-Step Guide
Related: How to Patch Drywall Before Painting: Step-by-Step Guide
Related: How to Caulk Before Painting: Step-by-Step Guide
Related: How to Paint Aluminum Siding: Step-by-Step Guide
For larger cracks, you may need flexible caulk designed for walls. This allows for minor wall movement without cracking again. Fill it, smooth it with a wet finger, and let it cure per the product instructions.
Don’t skip this step. Holes and cracks telegraph through paint and look unfinished.
Step 3: Clean Your Walls Thoroughly
This is where most DIYers cut corners, and it shows.
For light cleaning (low-traffic rooms in good condition), use warm water and a sponge. Wipe the walls down, focusing on dust and light grime. Rinse with a damp cloth and let dry completely before sanding.
For heavy cleaning (kitchens, bathrooms, walls with visible dirt or grease), mix warm water with trisodium phosphate (TSP), a mild degreaser that removes built-up grime without damaging the wall. Use a sponge mop or sponge to wash the entire wall surface. Work from top to bottom so dirty water drips down areas you haven’t cleaned yet.
Rinse multiple times with clean water. Change your rinse water frequently. Leftover TSP residue creates a slippery surface that paint won’t stick to. Rinse until the water runs clear.
This matters more than you think. Allow 24 hours for walls to dry completely before moving to the next step. Moisture and paint don’t mix.
Step 4: Sand Surfaces for Better Adhesion
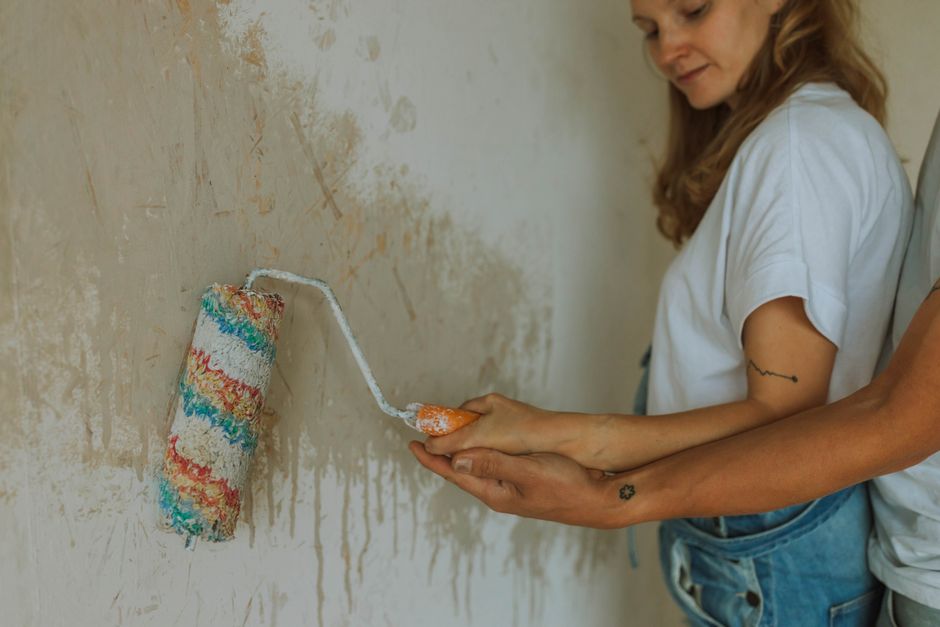
Even if your walls are smooth to the touch, light sanding improves paint adhesion. Use 120-150 grit sandpaper or a sanding sponge. You’re not trying to remove the existing paint, just dull the surface so new paint grips better.
This is especially important on semi-gloss or glossy surfaces. Those finishes are slick and repel paint unless you sand them first.
Sand lightly in circular motions. Wear a dust mask to avoid breathing dust. This step takes 30 minutes to an hour for an average bedroom.
Step 5: Wipe Down All Dust
After sanding, dust particles cover your walls. If you paint over these, you’ll get bumpy, uneven coverage. Wipe the entire wall surface with a damp cloth or tack cloth (a sticky cloth designed to pick up dust). Let the walls dry.
This is your final quality check before painting begins.
Step 6: Protect What You Don’t Want Painted
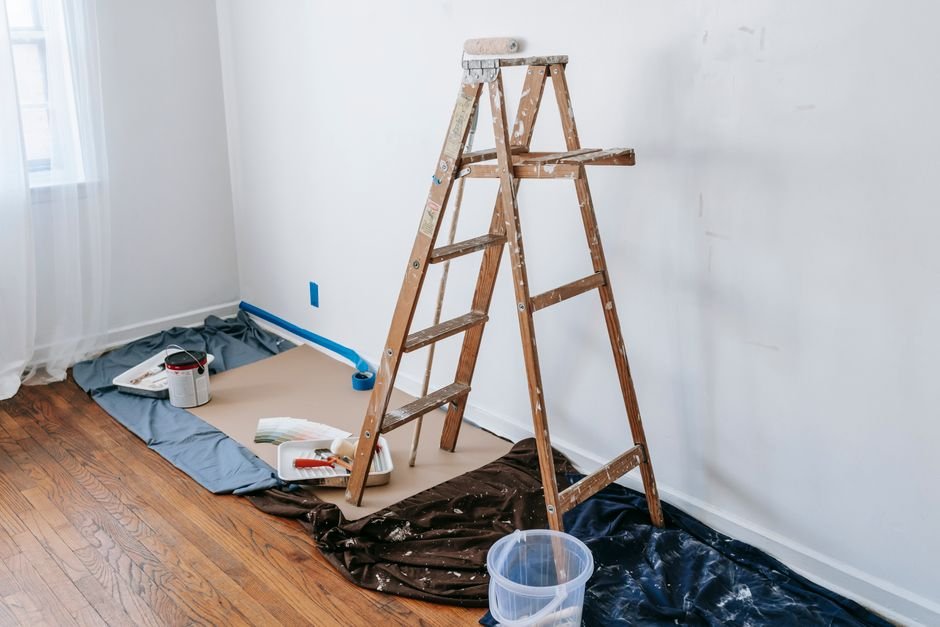
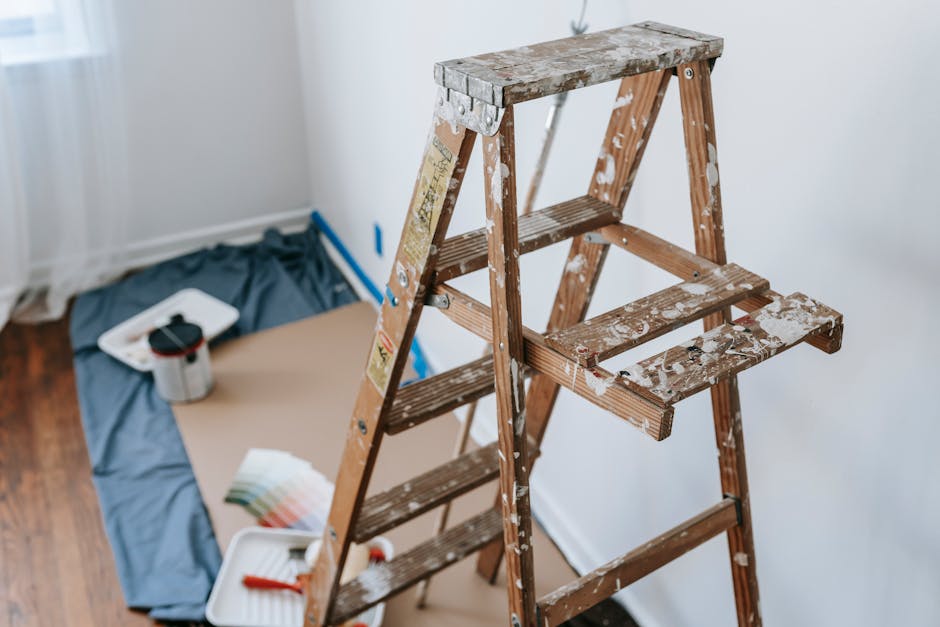
Use painter’s tape on baseboards, trim, ceiling lines, and around outlets or switches. Lay drop cloths on the floor. These simple steps prevent mistakes and cleanup headaches.
Tape doesn’t have to be perfect, but it should be pressed firmly so paint doesn’t seep underneath.
Common Wall Prep Mistakes to Avoid
Skipping cleaning because walls “look clean” is the #1 mistake. Dust and grime are invisible until paint highlights them.
Painting on wet or damp walls causes adhesion failure and mold growth. Always allow proper drying time.
Rushing the sanding step. Light sanding on glossy surfaces is non-negotiable. Flat or matte walls benefit from it too.
Not filling cracks or patching holes. These show through paint no matter how many coats you apply.
Ignoring water stains or discoloration. These bleed through paint unless you use stain-blocking primer first.
When to Call in the Professionals
Wall prep is manageable for most homeowners. But if your walls show signs of water damage, mold, or structural issues, or if you’re working with textured or damaged plaster, it’s worth consulting professionals. Nu-Trend Painting Inc handles complex wall conditions and can identify problems that need attention before painting starts.
Professionals also save time if you’re prepping large commercial spaces or working on a timeline. What takes a homeowner a weekend takes an experienced crew a day.
Prep Work Summary
Good wall prep follows this order:
- Inspect walls for damage or problem areas
- Patch holes and fill cracks
- Clean walls thoroughly (warm water for light cleaning, TSP solution for heavy cleaning)
- Rinse multiple times and allow complete drying
- Sand surfaces lightly to improve adhesion
- Wipe down all dust with a damp cloth
- Protect trim and floors with tape and drop cloths
Total time for an average bedroom: 4-6 hours over 1-2 days (including drying time).
Your paint finish is only as good as your prep work. Invest the time now and your walls will look great for years. If you’re tackling a larger project or want professional-quality results without the effort, Nu-Trend Painting Inc handles all prep and painting in the St. Petersburg and Pinellas County area.
Questions About Wall Prep
How long should I wait after cleaning before painting?
Allow at least 24 hours for walls to dry completely after washing. Humidity and temperature affect drying time, so if conditions are damp or cool, wait longer. Moisture trapped under paint causes bubbling and adhesion problems.
Do I have to sand all walls before painting?
Light sanding helps paint stick better, especially on glossy surfaces or when applying a darker color over a lighter one. For flat, matte walls in good condition, it’s less critical but still recommended. It takes minimal time and improves results noticeably.
What’s the difference between spackling and joint compound?
Spackling is for small nail holes and minor imperfections. It dries faster and sands smooth easily. Joint compound is better for larger cracks and repairs. Both work fine for wall prep. Use whichever is appropriate for the hole size.
Can I paint over water stains without special primer?
Not reliably. Water stains often bleed through regular paint. Use a stain-blocking primer first to seal the stain, then apply finish paint. This prevents the stain from reappearing and ensures even color coverage.