The short answer: you need 100-220 grit sandpaper before painting. Start coarser (100-120 grit) on rough spots and patches, then finish with 220 grit for a smooth surface that paint can grip.
Sound simple? It kind of is. But get this wrong, and your paint job looks blotchy, peels faster, or shows sanding marks through the finish. Get it right, and your paint sticks perfectly with zero headaches.
Here’s what you actually need to know about grit selection and how to avoid the most common mistakes.
Understanding Sandpaper Grit Numbers
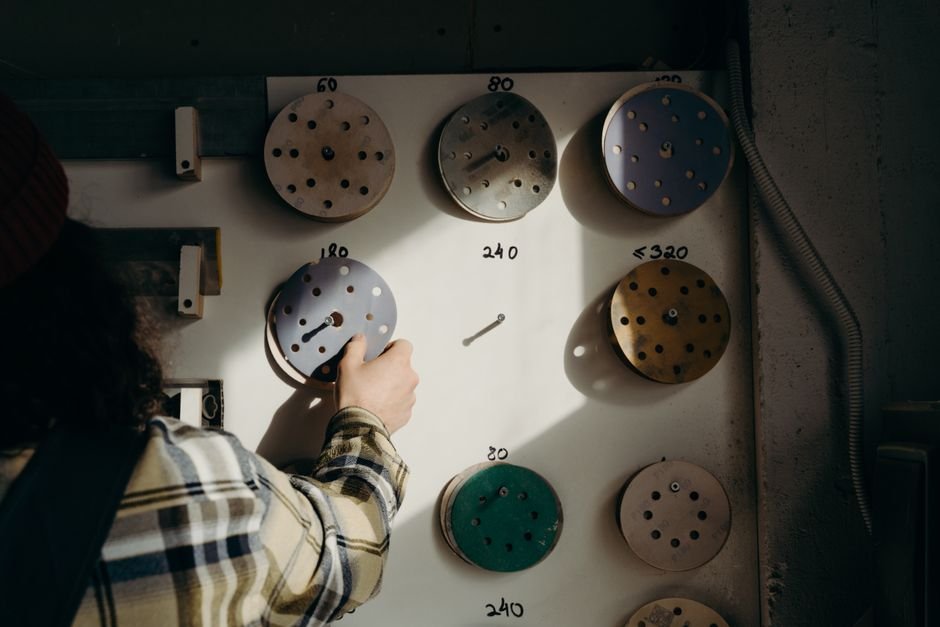
Grit is just a number that tells you how coarse or fine the sandpaper is. Lower numbers mean coarser (more aggressive). Higher numbers mean finer (more gentle).
Think of it like this: 60 grit is like rough concrete. 220 grit is like a cat’s tongue. You’re going to use the middle ground for painting prep.
The grit scale goes something like 60, 80, 100, 120, 150, 180, 220, 240, 320, 400, 600, and beyond. For painting work, you’ll almost never go below 100 or above 220 unless you’re doing specialty finishes.
The Right Grit for Drywall and Smooth Walls
Most interior walls are drywall, and drywall needs gentle handling. You don’t want to sand through the paper face into the soft gypsum core underneath. That’s a pain to fix and ruins your finish.
For general drywall prep before painting, use 120-150 grit as your starting point. This is coarse enough to knock down ridges, bumps, and dried spackle, but gentle enough that you won’t accidentally gouge the wall.
Sand lightly. You’re not trying to sand the whole wall down. You’re just smoothing rough spots and breaking up the shine so paint can stick.
If your drywall is in decent shape with no major damage, you can skip straight to 180-220 grit and just do a light overall sand. This creates a smooth surface and gives the paint something to grab onto (we call this “paint tooth”).
Sanding Patched or Damaged Areas
Spackle, joint compound, and patched sections are softer than drywall and need extra care. You want to sand these smooth without over-working them.
Start with 120 grit to knock down any rough edges or lumps around the patch. Then follow up with 180 grit to smooth it flush with the wall. If the patch is particularly rough, you might start with 100 grit, but don’t make it a habit.
The goal is to feel no ridge or lip when you run your hand across the patched area. If you still feel a bump, hit it again with 150 or 180 grit until it’s flush.
Over-sanding patches is a common mistake. Once the patch feels smooth, stop. More sanding just dulls the surface and can actually create divots.
Final Prep: The 220 Grit Step
This is the finishing touch that separates an okay job from a professional one.
After all your spot repairs and general sanding, run a final light pass with 220 grit sandpaper over the entire surface you’re about to paint. This accomplishes two things: it smooths out any scratches left by coarser grits, and it creates a consistent, fine texture that helps paint adhere evenly.
Related: Stucco Repair and Painting: A Complete Guide
Related: How to Prep Walls Before Painting: Step-by-Step Guide
Related: How to Patch Drywall Before Painting: Step-by-Step Guide
Related: How to Caulk Before Painting: Step-by-Step Guide
Related: How to Remove Mold Before Painting: Step-by-Step Guide
Related: How to Remove Wallpaper Before Painting: Step-by-Step Guide
Related: Best Deck Stain Colors: Your Complete 2026 Guide
Use light pressure here. You’re not removing material anymore. You’re just creating a slightly textured surface that paint can bite into.
This last step makes a huge visible difference. Rooms prepped this way get better paint coverage and a more professional-looking finish.
Tools for Sanding Before Painting

The right tool matters because it affects how evenly you sand and how much time you spend doing it.
- Pole sander with sanding pad: Best for large flat walls. Lets you cover ground fast and reach high spots without a ladder.
- Sanding sponge or block: Better for corners, edges, and detailed work. Also great for small to medium repairs.
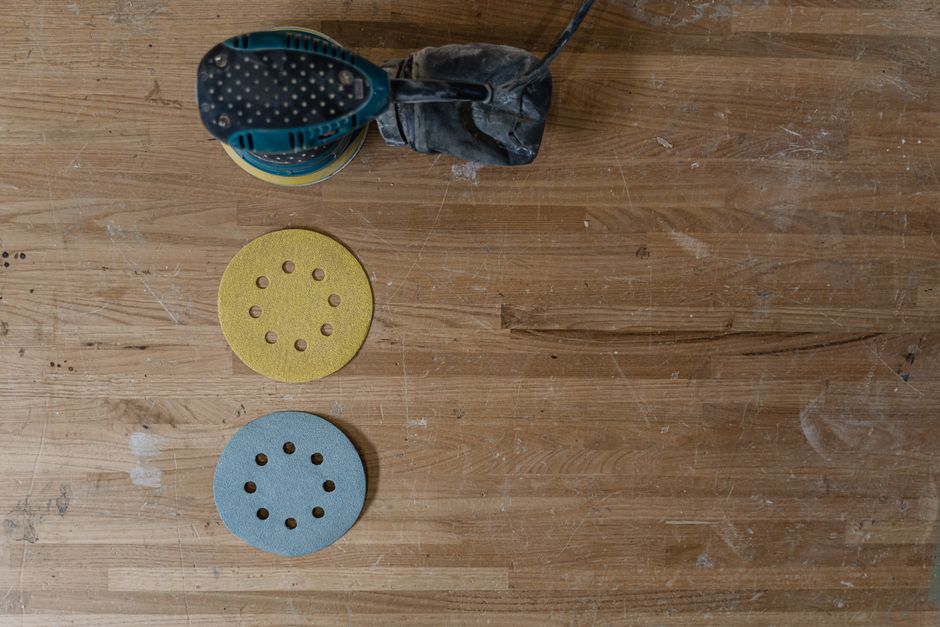
- Electric orbital sander: Overkill for most interior painting prep, but speeds things up if you have multiple rooms or a commercial space.
For most homeowners prepping a bedroom or living room, a sanding sponge and a pole sander with a pad handles the job efficiently.
The Goldilocks Principle: Not Too Coarse, Not Too Fine
Here’s where a lot of people mess up. They either sand with something too coarse (leaving visible scratches) or skip sanding altogether (paint doesn’t stick right).
You want your grit choice to be coarse enough to remove imperfections and create paint tooth, but fine enough that scratch marks won’t show through the finish coat.
If you use 80 grit on your drywall, those scratches might peek through paint. If you use 320 grit, you might as well skip sanding because the surface won’t have enough texture for paint to grip.
That’s why 100-220 grit is the sweet spot. You’re removing damage while staying invisible once the paint goes on.
Multi-Grit Progression for Premium Finishes
Some professional painters, especially those working on high-end residential or commercial projects, use a progression of grits: 150, 220, 320, even 400 grit for the final pass.
Does this produce a noticeably better result? On walls that will receive semi-gloss or high-gloss paint, yes. On matte or eggshell finishes, the difference is minimal to most people’s eyes.
If you want that ultra-smooth, near-perfect finish, go ahead and progress through multiple grits. But for standard interior painting, 120-180 grit followed by a 220 grit final pass gets you 95% of the way there and saves you hours of work.
Non-Drywall Surfaces Need Different Grits
Not everything you paint is drywall. Concrete, wood trim, metal, and textured surfaces all have different sanding rules.
Concrete: Use 60-100 grit if it’s rough. Concrete is hard and can take coarser sandpaper without damage.
Wood trim and doors: Start with 100-120 grit for general prep, finish with 150-220 depending on the paint type and finish you want.
Textured walls: Sand lightly with 120-150 grit if you need to smooth them down. Respect the texture or you’ll spend all day sanding.
Glossy surfaces: You need to dull the shine before painting. Use 120 grit and hit the whole surface, not just spots.
When in doubt about a specific surface type, test a small inconspicuous area first with your chosen grit. Better to practice on a corner than ruin a wall.
Common Mistakes to Avoid
Over-sanding is the number one mistake. People get nervous about bumps, so they sand and sand until they’ve gone too far and now there’s a divot. Sand methodically with a light touch.
Using grit that’s too coarse for the task. Jumping straight to 80 grit on drywall can leave visible scratches. Start with 100-120 and go finer from there.
Skipping the final 220 grit pass. It takes 10 minutes and makes the paint stick better and look better. Don’t skip it.
Not vacuuming or wiping dust before painting. All that fine dust from sanding sits between your wall and the paint. Wipe it off with a damp cloth or use a vacuum with a soft brush attachment.
When to Call in the Professionals
Sanding is the unglamorous part of painting prep, but it’s also the most important. If your walls have deep cracks, water damage, extensive patching, or textured surfaces that need leveling, that’s a job for experienced hands.
The team at Nu-Trend Painting Inc handles all the sanding and prep work as part of their painting process. They know exactly which grit to use for your specific walls and surfaces, and they have the right tools to do it efficiently without damage.
Even if you’re a DIYer, getting a second opinion on surface prep is worth considering. One missed spot or over-sanded patch can show up later.
Pro Tips for Better Results
Sand in good lighting. Shadows hide bumps and scratches. Use a work light or paint a test area with primer to see what you missed.
Always sand in the same direction when possible, especially on the final 220 grit pass. This creates uniform scratches that look intentional rather than random and rough.
Wear a dust mask. Drywall dust is not fun to breathe in, and sanding for hours without one will make you cough for days.
Sand before you fill gaps, sand after you fill, and sand again after primer if needed. Paint prep is iterative.
Related: Do You Need to Prime Before Painting? Your 2026 Guide
Let spackle or joint compound fully dry before sanding. Sanding wet or partially dry compound clogs your paper and doesn’t work.
Your Sanding Checklist Before Painting
- Assess the surface and identify rough spots, patches, and damage.
- Start with 100-120 grit on damaged areas; use 120-150 grit on general drywall.
- Sand lightly with a pole sander or block. You’re smoothing, not removing the wall.
- Fill any remaining gaps or holes with spackle and let dry completely.
- Sand those patches smooth with 120-180 grit.
- Do a final light pass over the entire surface with 220 grit.
- Vacuum and wipe down all dust with a damp cloth or tack cloth.
- Prime any bare drywall or repaired spots.
- Paint with confidence.
Getting the grit selection right is half the battle. The other half is technique and patience. Rush sanding and you’ll see it in the final paint job. Take your time, use the right grit, and your paint will look like a professional did it.
If you’d rather skip the prep work entirely and let experienced painters handle it, Nu-Trend Painting Inc can take that off your plate and guarantee the job is done right.
Frequently Asked Questions
Can I paint over walls without sanding?
You can, but you shouldn’t. Paint needs something to grip onto. Without sanding, paint sits on top of the old surface and peels or flakes over time. At minimum, sand glossy surfaces and wipe down dust. Flat or matte surfaces benefit even more from light sanding.
Is 150 grit good enough for all prep work?
150 grit is a solid middle-ground choice and works for general smoothing and light repairs. For rough patches or concrete, you might start coarser (120 grit). For the final pass before paint, go finer (220 grit). 150 grit alone gets you most of the way there, but a two-step approach produces noticeably better results.
What’s the difference between drywall sanding sponges and sandpaper?
Sanding sponges are flexible and conform to curved or textured surfaces better than flat sandpaper. They’re also easier on your hands and wrists over long sessions. Sandpaper sheets and pole sanders cover flat, large areas faster. Use whichever tool fits the surface you’re working on. Most jobs benefit from both.
Do I need to prime after sanding?
Yes, absolutely. Any bare drywall, spackle, patches, or wood exposed during sanding needs primer before topcoat paint. Primer seals the surface, prevents stains from bleeding through, and helps paint stick. Skipping primer is a shortcut that costs you later when paint coverage looks uneven or peels.