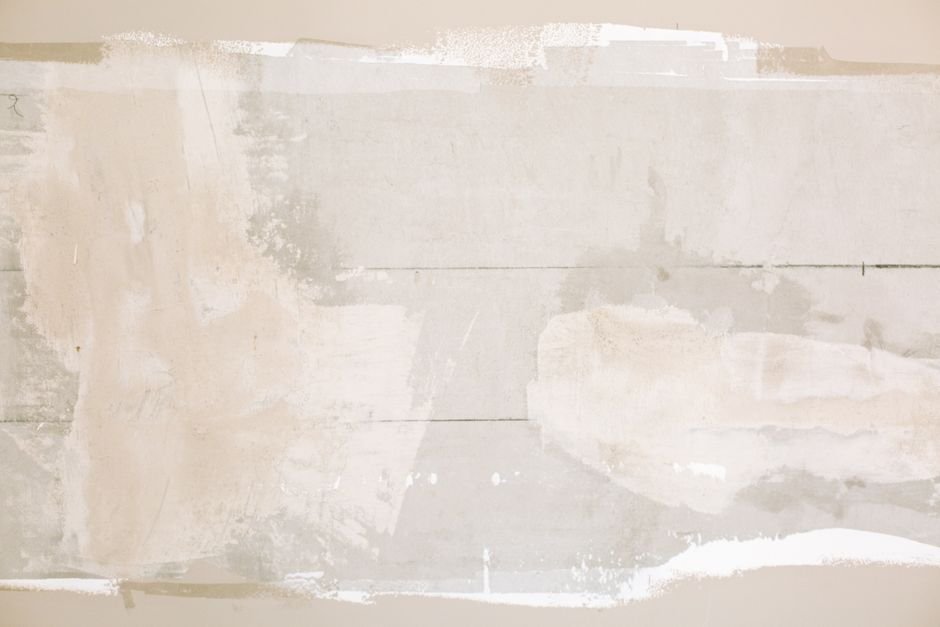
Patching drywall before painting is one of those tasks that looks intimidating but is totally doable if you know the right approach. The key is using the right materials, applying thin layers, and taking your time between coats. Whether you’ve got small nail holes, ripped paper, or bigger damage, the process stays mostly the same—just adjusted for the size of the problem.
Prep Your Patch Area
Before you even think about slapping on joint compound, you need to get the damaged area ready. Start by trimming away any loose or frayed drywall edges around the damage. Use a utility knife to cut back the loose bits so you’re working with clean, solid edges.
Related: How to Caulk Before Painting: Step-by-Step Guide
Related: How to Prep Walls Before Painting: Step-by-Step Guide
Related: How to Remove Mold Before Painting: Step-by-Step Guide
Related: How to Remove Wallpaper Before Painting: Step-by-Step Guide
If the tear has exposed the drywall paper, trim that back too. Loose paper won’t hold compound well and will cause your patch to fail. You want a neat perimeter to work with—think of it like preparing a surface before you paint anything else.
For small dents or dings, just lightly sand the area with medium-grit sandpaper. You’re not trying to remove the whole spot, just dulling the shine so the compound grips better.
Apply Mesh Tape and First Coat
For any tear or hole larger than a pinhead, you’ll want mesh drywall tape. This self-adhesive tape goes right over the damage and gives your joint compound something to bond to. Press it down firmly so it sticks completely with no wrinkles or air bubbles.
Once the tape is down, load your putty knife with joint compound and spread a thin layer over the damaged area. Think “thin”—this is the mistake most people make. A thick coat takes forever to dry, cracks easily, and needs way more sanding. You’re going for just enough to cover the tape and feather slightly beyond it.
Feathering means extending the compound past the tape edges so it blends smoothly into the surrounding wall. A 6-inch or 8-inch putty knife works great for this. Keep your knife at a low angle and use smooth, even strokes.
Let It Dry and Sand
Read the compound package for drying time—most lightweight options dry in 2 to 4 hours, but don’t rush. You want it completely hard before you touch it with sandpaper. A soft or damp layer will gunk up your paper and make a mess.
Once it’s dry, sand it smooth with medium-grit sandpaper (120 to 150 grit works well). Sand lightly in circular motions and dust off the residue with a damp cloth or sponge. This step is crucial because bumps and ridges now will show through your paint later.
Build Up Layers
This is where patience pays off. You’re going to repeat the process: apply a thin coat, let it dry, and sand it smooth. Most patches need 2 to 3 coats total depending on the size and depth of the damage.
Each coat should be slightly wider than the last so the edges blend gradually into the wall. By the final coat, your compound might extend 12 to 18 inches from the original damage—that’s normal and it creates that smooth transition.
After your final coat dries and you’ve sanded everything smooth, run your hand lightly over the area. You shouldn’t feel any ridges or dips. If you do, one more light coat might be needed.
Prime Before Painting
This step is easy to skip but don’t. Bare joint compound is porous and will soak up paint unevenly, leaving a dull spot that shows through even after you paint. Use a drywall primer or all-in-one primer-paint on the patched area and feather it out a bit beyond the patch so it blends with the surrounding wall.
One coat of primer is usually enough.
Apply Your Finish Paint
Now comes the fun part. Roll on at least 2 coats of your finish paint. Most paints need 2 coats for true color and coverage anyway, especially over a primed patch. The primer gives the topcoat something to grab, so you’ll get better results than painting directly over drywall.
Use a 3/8-inch nap roller for smooth walls or 1/2-inch for textured surfaces. Blend the edges into the surrounding wall by rolling slightly past the patched area with each pass. This keeps the patch from looking like a bright square in the middle of your wall.
Special Cases: Torn Paper and Larger Holes
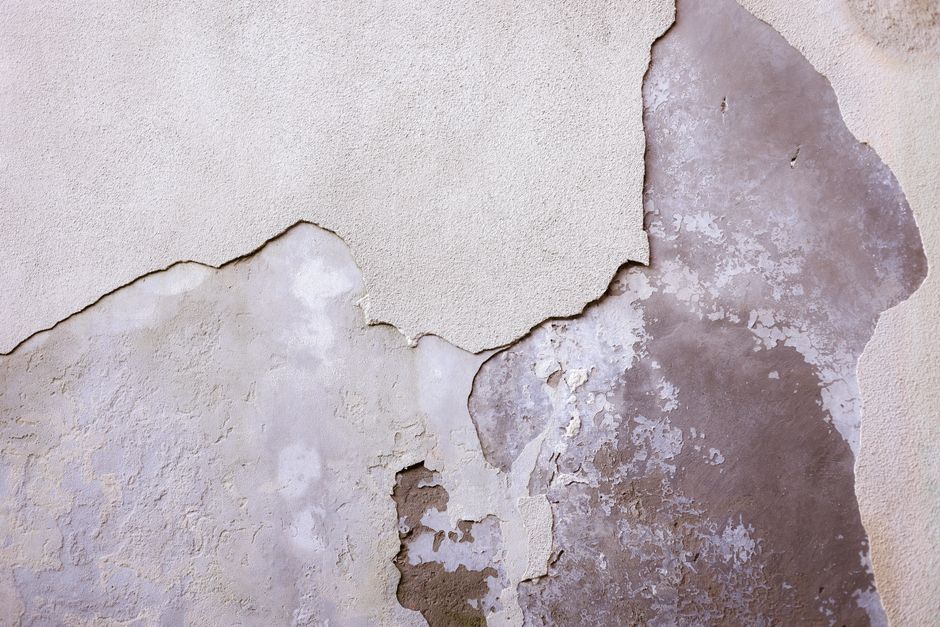
Torn drywall paper is a bit trickier than a simple hole. The torn paper won’t grip compound as well, so you’ve got two options: repair it as-is with extra coats and patience, or cut out the damaged section and do a proper patch.
For bigger holes (anything over a couple inches across), a patch kit or replacement piece of drywall is honestly the better move. These involve more work but give longer-lasting results. The process is similar—tape, compound, dry, sand, repeat—but you’re working with a larger surface.
If you’re dealing with extensive damage or multiple large areas, Nu-Trend Painting Inc can assess the scope and help you decide whether a DIY approach makes sense or if it’s time to bring in a pro.
Common Mistakes to Avoid
Going too thick on the first coat is the number-one killer. A thick coat cracks, takes forever to dry, and creates extra work sanding. Thin and steady wins the race.
Not feathering is mistake number two. If your patch edges are sharp and sudden, no amount of paint will hide it. Always blend the compound past the damaged area.
Skipping the primer is mistake number three. It looks fine while it’s wet, but once it dries, that patch will stand out like a sore thumb under paint.
Rushing the dry time between coats causes peeling and poor adhesion. Be patient and follow the product instructions.
When to Call a Professional
Some repairs are genuinely DIY-friendly. Small dents, nail holes, and minor tears are perfect starter projects. But if you’ve got deep gouges, water damage, mold, or holes bigger than a few inches, things get more complicated fast.
Textured walls also add complexity because matching the texture takes practice. If your patch doesn’t match the surrounding wall texture, it’s going to be obvious even after painting.
Extensive damage across large wall areas, popcorn ceilings, or multiple problem zones often make sense to hand off to someone with the right tools and experience. Nu-Trend Painting Inc has handled thousands of wall repairs throughout St. Petersburg and Pinellas County and can give you an honest assessment of whether your project is a weekend DIY job or worth hiring out.
The Bottom Line
Patching drywall before painting comes down to three principles: prep well, apply thin layers, and blend the edges. Take your time between coats, sand smooth, prime the patch, and roll on finish paint. Most homeowners can handle small to medium repairs with patience and the right materials.
If you end up with a patch that doesn’t look quite right, or if you’d rather let someone else handle the detail work, reach out to get a free estimate on your project.
How many coats of joint compound do I need?
Most patches need 2 to 3 coats depending on the size and depth of the damage. Small nail holes might need just one coat. Bigger tears or dents typically need 3 coats to feather smoothly and hide the repair completely. Each coat should be thinner than the last.
Can I paint over joint compound without primer?
Technically yes, but you really shouldn’t. Joint compound is porous and soaks up paint unevenly, leaving a dull spot that shows through. Primer seals it and gives the topcoat a uniform surface, so your finish paint looks consistent and professional.
What if my drywall patch cracks after I paint it?
Cracks usually mean the compound went on too thick or wasn’t fully dry before the next coat. Sand out the cracked area gently, apply another thin coat of compound, let it dry fully, sand smooth, and reprime. Take it slower this time around.
Do I need special tools to patch drywall?
A putty knife (6-inch to 10-inch), sandpaper (120 to 150 grit), mesh tape, joint compound, and a damp cloth are the basics. A sanding sponge or pole sander makes the work easier but isn’t required. Most of these are cheap and available at any home improvement store.