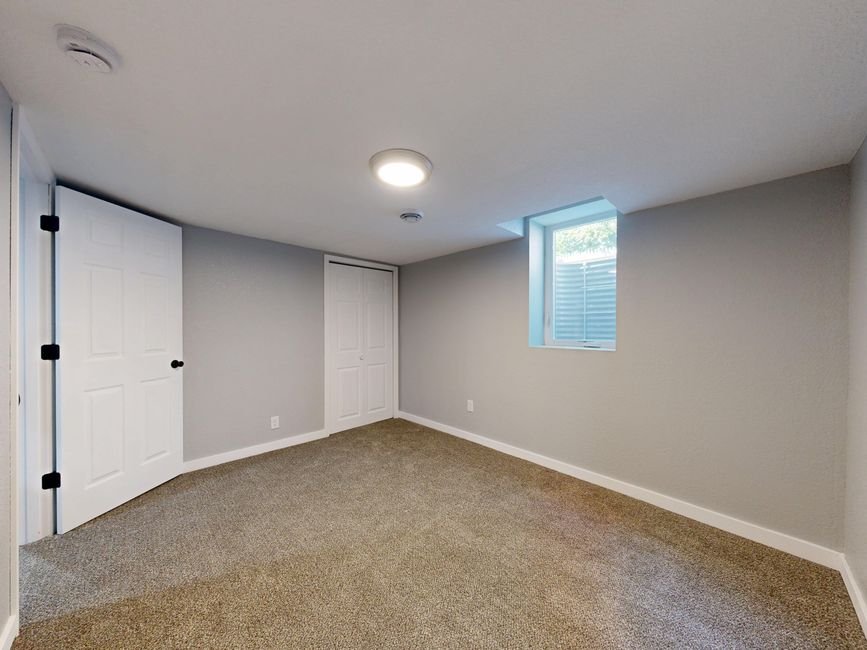
When it comes to painting trim and baseboards, not all paint is created equal. You need something that can stand up to dust, moisture, scuffs, and the occasional bump from a vacuum or furniture. The best paint for trim and baseboards is a semi-gloss finish in either acrylic enamel or oil-based formula, depending on your priorities and comfort level with application.
Why Semi-Gloss Finish Is the Gold Standard for Trim
Semi-gloss is the sweet spot for trim and baseboards. It sits between flat paint and high-gloss, giving you a subtle shine that looks modern and refined without being overly reflective.
That sheen does more than look good, though. It makes your trim way easier to clean. Dust and dirt wipe right off, which matters because baseboards and trim collect grime faster than any other painted surface in your home. You can use a damp cloth or mild cleaner without worrying about dulling the finish.
Semi-gloss also resists moisture better than flat or satin finishes. If you have baseboards in a bathroom, kitchen, or any humid area, that moisture resistance matters. It keeps paint from peeling and keeps the wood underneath from swelling.
The durability factor is huge too. Semi-gloss paint stands up to scuffs and minor impacts better than lower-sheen options. That’s critical for high-traffic areas like staircase railings, door frames, and half-wall caps where kids and pets roam.
Acrylic Enamel vs. Oil-Based Paint
Once you commit to semi-gloss, you’ll choose between two main types: acrylic enamel (latex-based) and oil-based paint. Both work well for trim. The difference comes down to durability, cleanup, and how comfortable you are with the application process.
Acrylic Enamel (Latex-Based)
Acrylic enamel paint is easier to work with. It cleans up with soap and water, dries faster (usually 2-4 hours), and has minimal odor. That makes it friendly for busy households where you can’t shut off a room for days.
The durability is solid for most residential trim work. Acrylic enamel resists fading and yellowing over time, which keeps your trim looking fresh longer. It’s also less likely to crack or peel as your home expands and contracts with temperature changes.
One trade-off: acrylic enamel isn’t quite as hard as oil-based paint when fully cured. In very high-traffic areas or commercial spaces, you might notice scuffs showing up sooner. But for typical home trim, it performs beautifully.
Oil-Based Paint
Oil-based paint is the heavyweight champion of durability. It cures to a harder, more durable finish than acrylic enamel, making it ideal if your trim takes serious punishment. It resists scuffing and impact damage really well, and it self-levels beautifully for a super-smooth, professional look.
The downsides are real, though. Oil-based paint has a strong odor that lingers for days or weeks. You need serious ventilation, and some people find the smell unbearable. Cleanup requires mineral spirits or paint thinner, which is messy and time-consuming. Drying takes much longer, usually 24 hours or more before recoating.
Oil-based paint also yellows slightly over time, especially if trim doesn’t get much natural light. That matters if you’re painting trim in closets or interior spaces away from windows.
If you go the oil-based route, make sure your home can handle the ventilation needs and you’re prepared for the cleanup hassle. If that sounds like a headache, acrylic enamel is your answer.
Acrylic-Alkyd Hybrid as a Middle Ground
There’s a third option gaining traction: acrylic-alkyd hybrid paint. It tries to split the difference between acrylic and oil-based formulas. You get harder, more durable coverage than standard acrylic enamel, but with easier cleanup than oil-based paint and less odor too.
Hybrid paints aren’t quite as tough as pure oil-based, and they don’t have the ultra-smooth self-leveling of oil. But they’re a solid choice if you want performance without the hassle. They dry a bit slower than acrylic (8-12 hours typically) but faster than oil.
What Makes Paint Right for Trim and Baseboards
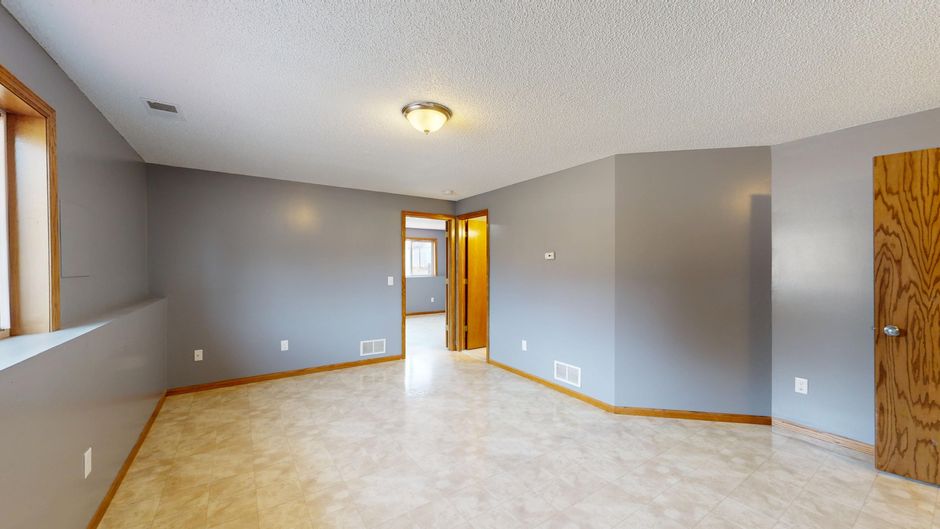
Beyond finish type and base formula, look for paint specifically formulated for trim and baseboards, not just general-purpose interior paint. Here’s what matters:
- Scuff resistance – Critical for high-traffic areas and anywhere kids or pets roam. Better paint means fewer marks showing up over time.
- Easy-to-clean finish – Trim collects dust constantly. You want paint that wipes clean without dulling or streaking.
- Moisture resistance – Baseboards in kitchens, bathrooms, and basements face humidity. Paint rated for moisture resistance prevents peeling and discoloration.
- Color retention – Premium trim paint doesn’t yellow or fade as fast as budget options. Your baseboards stay looking fresh longer.
Inferior paint might look fine at first, but over time it leads to problems. Doors start sticking because cheap paint is thicker and drags. Baseboards dent easily. The finish fades or yellows. You end up repainting way sooner than if you’d invested in quality paint upfront.
Prep Work Makes or Breaks Your Trim Paint Job
Here’s the thing nobody tells you: paint quality matters, but prep work matters more. You can use the best semi-gloss enamel money can buy, but if you skip proper prep, the finish will disappoint.
Start by cleaning baseboards and trim thoroughly. Dust, dirt, and grime prevent paint from bonding properly. Wipe everything down with a damp cloth, and use a cleaner or TSP (trisodium phosphate) solution on really dirty areas.
Fill gaps, cracks, and nail holes with paintable caulk or spackle. Sand everything lightly with 120-150 grit sandpaper to rough up the surface and help the new paint stick. If there’s existing paint in bad shape, sand it more aggressively or strip it.
Prime the trim, especially if you’re making a big color change or painting raw wood. A good primer seals stains, blocks tannins, and gives your topcoat something to grip onto. It makes a huge difference in the final result.
Related: Best Deck Stain Colors: Your Complete 2026 Guide
Related: How to Paint Baseboards: A Step-by-Step Guide
Related: How to Paint Kitchen Cabinets White: A Complete Guide
If this sounds like a lot of work, it is. Proper trim painting takes patience and attention to detail. That’s why many homeowners call in a professional like Nu-Trend Painting Inc to handle it. They’ve got the tools, experience, and speed to do it right.
How Many Coats Do You Need
Trim usually needs two coats of paint for full, even coverage. The first coat seals the primer and starts building color. The second coat gives you that rich, flawless finish.
If you’re making a dramatic color change or painting over a dark shade, you might need three coats. Let each coat dry completely before applying the next one. Rushing this step leads to runs, drips, and uneven coverage.
Budget enough time between coats. Even quick-dry paints need at least 2-4 hours before the next layer, and overnight is safer. Oil-based paint needs 24 hours or more.
Choosing Between Interior and Moisture-Resistant Formulas
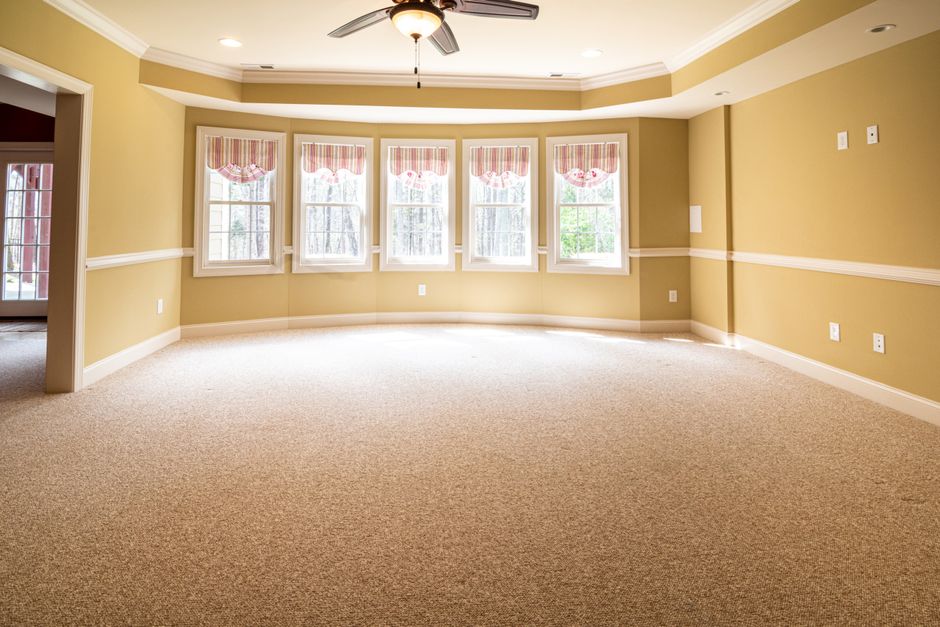
Most trim inside your home can use standard interior semi-gloss paint. But if baseboards or trim are in a bathroom, kitchen, basement, or any damp area, choose a paint rated for moisture resistance.
Moisture-resistant formulas resist mildew and prevent paint from peeling when humidity is high. They cost a bit more, but they last way longer in tough environments. If you’re not sure whether your trim needs it, ask Nu-Trend Painting Inc during your free estimate. They can assess your specific situation and recommend the right product.
Common Trim Paint Mistakes to Avoid
Using flat or satin paint on baseboards is a frequent mistake. These finishes don’t clean easily and show scuffs faster. Stick with semi-gloss.
Skipping primer is another one. Primer isn’t optional for trim. It seals stains, improves adhesion, and makes topcoats look better.
Painting in cold or humid conditions causes problems too. Paint needs the right temperature and humidity to dry and cure properly. If it’s too cold, too hot, or too damp, wait for better weather or improve ventilation.
Applying paint too thick is tempting when you want coverage fast, but it leads to drips, sags, and uneven drying. Thin, even coats always look better than thick ones.
Finally, don’t cheap out on brushes and rollers. Poor-quality applicators shed bristles into the paint and don’t distribute paint evenly. Invest in good tools and you’ll see the difference in the final result.
When to Call a Professional for Your Trim Painting
If you have a lot of trim, high ceilings, intricate molding, or just don’t feel confident doing it yourself, hire a pro. Trim painting looks easy until you’re halfway through and realize you’re going to spend an entire weekend on it. Plus, professional painters have techniques and equipment that produce smoother, more uniform finishes.
They’ll also handle all the prep work properly, choose the right paint and primer for your situation, and apply everything to a standard that’s hard to match as a DIYer. If you’re in the St. Petersburg or Pinellas County area and want expert trim painting done right, reach out to Nu-Trend Painting Inc for a free estimate.
Paint Sheen Comparison at a Glance
Here’s a quick reference for how different sheens perform on trim:
- Flat – Hides imperfections but shows scuffs and is hard to clean. Not recommended for trim.
- Matte – Similar to flat. Better than flat for cleaning but still not ideal for baseboards.
- Satin – Easier to clean than flat and matte, but still shows scuffs in high-traffic areas. Works for low-traffic trim only.
- Semi-gloss – Best for trim and baseboards. Cleans easily, resists moisture and scuffs, and looks polished.
- High-gloss – Very durable and easy to clean but looks too shiny for most residential trim. Better for doors and some exterior trim.
Should I use oil-based or acrylic enamel for my bathroom baseboards?
Acrylic enamel is usually the better choice. Bathrooms have high humidity, and acrylic enamel resists moisture well while being easier to apply and clean up. Oil-based paint works too, but the strong odor in a small, enclosed bathroom can be overwhelming. Choose a semi-gloss acrylic enamel rated for moisture resistance and you’ll be happy.
Can I paint trim with regular interior paint instead of trim-specific paint?
You can, but don’t. Regular interior paint is formulated for walls and doesn’t have the durability or scuff resistance that trim needs. Trim-specific paint costs a bit more but lasts way longer and looks better. It’s worth the extra investment.
How long does it take for trim paint to fully cure?
Acrylic enamel usually feels dry to the touch in 2-4 hours and is ready for light use in 24 hours, but full cure takes about a week. Oil-based paint takes 24 hours to dry and 2-3 weeks to fully cure. Don’t close doors, move furniture, or clean freshly painted trim until it’s fully cured.
What’s the best way to paint around trim without getting paint on the walls?
Use painter’s tape along the edge where trim meets wall, but press it down firmly and peel it off while the paint is still slightly wet. Tape applied loosely lets paint bleed underneath. A quality angled brush also helps you paint more precisely without a tape line. If you’re uncomfortable doing this yourself, a professional painter makes it look effortless.