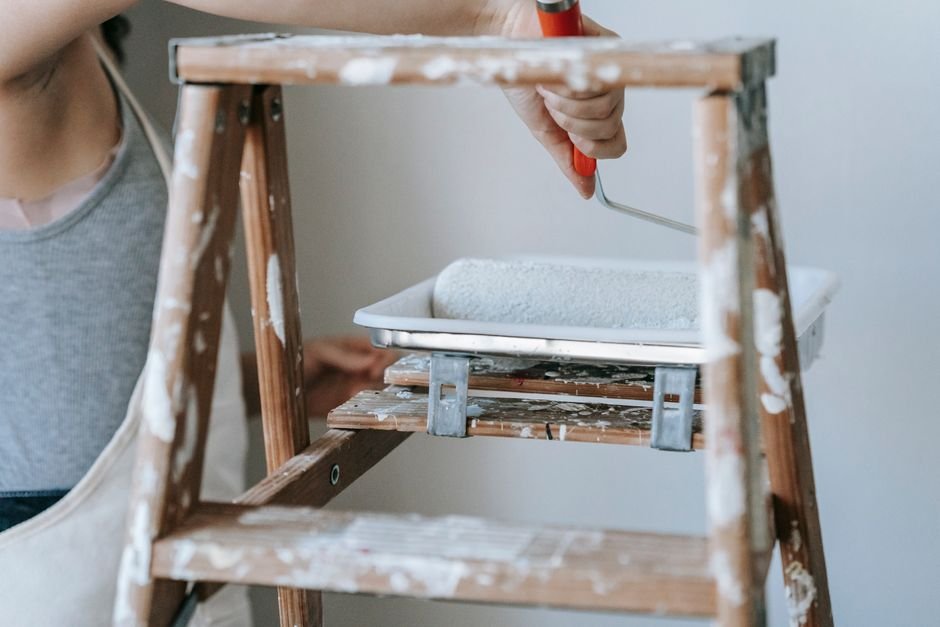
Painting baseboards is one of those projects that looks simple until you actually start doing it. The trick is not the painting itself, but the prep work and keeping paint off your walls and floors. Here’s the honest truth: if you get the foundation right, the actual brushwork becomes way easier.
The good news is that baseboards don’t require any special skill or expensive equipment. Whether you’re refreshing trim in one room or tackling your whole house, these steps will get you a clean, professional-looking finish.
Prep Work: The Real Game-Changer
Your success starts before you open the paint can. Move furniture away from the baseboards so you have clear access and working room. This might sound like extra work, but it prevents accidents and gives you peace of mind.
Related: Average Cost to Paint a Room in 2026
Related: Can You Paint Over Stained Wood? Yes—Here’s How
Lay drop cloths along the floor to catch any drips. Canvas drop cloths are better than plastic if you’re working on hardwood because plastic can get slippery. Tape along the top edge of the baseboard where it meets the wall using painter’s tape, but here’s a pro tip: instead of taping the bottom, use a 12-inch taping knife held steady along the floor. This protects your flooring and cuts your taping time down significantly since you won’t have to remove tape from the floor later.
Now comes the part nobody wants to hear but everyone needs to do: clean your baseboards. Dust, pet hair, and grime prevent paint from sticking properly. Wipe them down with a damp cloth and let them dry completely. If your baseboards are especially grimy or have scuffs, a Magic Eraser works great for spot-cleaning.
Related: How to Paint Kitchen Cabinets White: A Complete Guide
Related: Best Paint for Trim and Baseboards: Complete Guide 2026
Related: Stucco Repair and Painting: A Complete Guide
For natural wood baseboards you’re transitioning to paint, lightly sand with 120-grit sandpaper to dull the finish and help the new paint bond. Wipe away all dust with a tack cloth or damp rag before painting.
Related: How to Prep Walls Before Painting: Step-by-Step Guide
Related: How to Caulk Before Painting: Step-by-Step Guide
Related: How to Remove Mold Before Painting: Step-by-Step Guide
Choosing Your Tools and Paint
A good angled sash brush (about 2 to 2.5 inches) is your best friend for baseboard work. Cheap brushes shed bristles and make your finish look rough. Spend a little more on a quality brush and you’ll see the difference immediately.
For paint, trim typically needs a semi-gloss or satin finish because it hides imperfections better than flat paint and cleans up easier. Glossier finishes are more durable and moisture-resistant, which matters if your baseboards are in kitchens or bathrooms. The paint choice affects your timeline too, since glossy finishes need longer to cure between coats.
When you’re ready to get started, Nu-Trend Painting Inc can help you understand what finish and color will work best for your space, or you can handle this yourself by testing samples on a small section first.
The Painting Technique
Load your brush with paint but don’t oversaturate it. You want enough paint to cover smoothly without dripping. Tap the bristles against the inside of the paint can to remove excess rather than wiping the brush against the rim, which creates air bubbles.
Apply the paint in smooth, long strokes along the length of the baseboard. Work in sections rather than jumping around. Paint from your body outward and maintain a steady hand as you guide the brush. The key is keeping a wet edge so you don’t see lap marks where one section meets the next.
Related: How to Paint a Garage Door: Step-by-Step Guide
Related: How to Paint Aluminum Siding: Step-by-Step Guide
Here’s something that surprises people: you don’t need spray equipment to get a spray-quality finish. Brush application with proper technique and quality tools produces excellent results. The difference between a pro finish and a sloppy one is patience and attention to detail, not the tool itself.
Keep that taping knife positioned along the floor as you work. If you’re going slowly and staying in control, it catches drips before they happen. This takes practice, but once you get the rhythm down, it saves you cleanup time and prevents floor damage.
Multiple Coats and Drying Time

Most baseboard projects need two coats for even coverage and rich color. Let the first coat dry completely before applying the second, which usually means waiting 2 to 4 hours depending on humidity and the paint brand. Check the can for specific drying time recommendations.
The second coat should be thinner than the first. You’re looking for coverage, not thickness. A thin, even coat looks better than a thick one that pools in corners.
If you’re repainting baseboards that were already painted or just refreshing your existing trim, one coat might be enough. Test a small, inconspicuous section first to see if it covers properly.
Finishing Touches and When to Call a Pro
Remove painter’s tape while the paint is still slightly tacky, not bone dry. This prevents the paint from peeling off with the tape. Peel away from the baseboard at a low angle rather than pulling straight out.
Let the paint cure for at least 24 hours before moving furniture back or allowing heavy traffic. Satin and semi-gloss finishes take longer to fully harden than flat paint, so don’t be tempted to rush it.
Related: Best Paint Finish for Bathrooms: Satin vs Semi-Gloss
If your baseboards are damaged, warped, or you’re working with ornate trim that requires careful detail work, Nu-Trend Painting Inc has the experience to handle complex baseboard projects throughout St. Petersburg and Pinellas County. Sometimes the time and hassle of a DIY project makes professional help the smarter choice, especially if your baseboards run through multiple rooms.
Common Mistakes to Avoid
Skipping the cleaning step is the biggest mistake people make. Paint won’t stick to dust and grime, so you’ll have a finish that chips easily.
Using too much paint on your brush creates drips and an uneven finish. Less is more with baseboard painting.
Painting over glossy surfaces without sanding causes the new paint to peel. Even semi-gloss paint needs a light sand before a fresh coat goes on top.
Not protecting your floors properly leads to permanent paint spots. Use drop cloths and the taping knife method consistently.
According to the EPA’s guide to indoor air quality, proper ventilation matters when painting indoors, so crack a window or run a fan while you work, especially if you’re using oil-based paints.
Supplies You’ll Need at a Glance

- Painter’s tape
- Drop cloths (canvas preferred)
- 12-inch taping knife
- Quality angled sash brush (2 to 2.5 inches)
- Paint (satin or semi-gloss finish recommended)
- Paint tray or bucket
- Damp cloth or Magic Eraser for cleaning
- 120-grit sandpaper (for natural wood)
- Tack cloth (for removing dust after sanding)
How to Know When You’re Done
Your baseboards are finished when the paint has fully cured, tape is removed, and you don’t see lap marks, drips, or uneven coverage. Step back and look at the baseboards from different angles and lighting. That’s the honest test of your work.
If you’re not happy with the results, one more light coat can even things out. The beauty of baseboard painting is that mistakes aren’t permanent. You can always sand lightly and repaint a section.
For larger homes or baseboard projects that span multiple rooms, the time investment adds up quickly. That’s when reaching out to Nu-Trend Painting Inc for a free estimate makes sense. A professional can complete the project efficiently while you focus on other things.
How long does it take to paint baseboards?
A single room with 100 linear feet of baseboards takes most people 4 to 6 hours including prep, painting, and drying between coats. A larger home can take a full day or more. Professionals work faster because they’ve done it hundreds of times, but the quality result is what matters, not the speed.
Can you paint baseboards without taping?
Yes, experienced painters can paint trim without tape using a steady hand and proper brush control. The 12-inch taping knife method is actually a middle ground that protects your floors and walls without the full taping routine. If you’re new to this, tape makes your life easier.
What’s the best paint finish for baseboards?
Satin and semi-gloss finishes are ideal for baseboards because they resist scuffs, clean up easily, and hide minor imperfections better than flat paint. Semi-gloss is more durable but shows dust more visibly. Satin is a popular middle ground that looks modern and performs well.
Do I need to prime baseboards before painting?
If your baseboards are already painted, no. If you’re painting raw wood or transitioning from stain to paint, a quality primer helps the topcoat stick and provides better coverage. Most modern paints include primer, so read the label. When in doubt, one coat of primer followed by two coats of paint is foolproof.