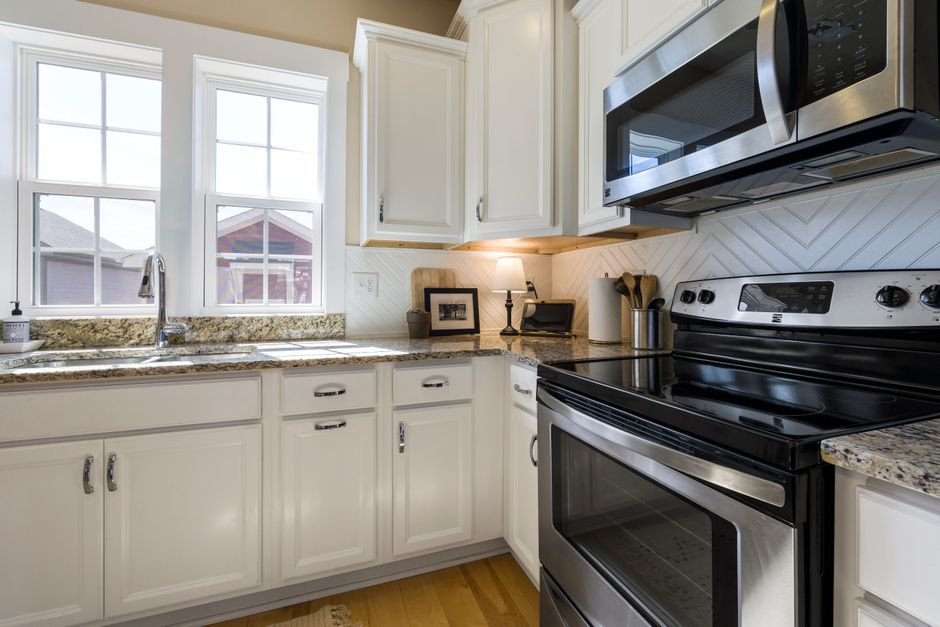
Painting your kitchen cabinets white is one of the fastest ways to transform your kitchen without a full renovation. A fresh coat of white paint can brighten the whole space, make it feel larger, and give everything a clean, updated look. But here’s the thing: the difference between a cabinet painting project that looks amazing and one that peels or looks streaky comes down to preparation and technique.
Why White Kitchen Cabinets Still Win in 2026
White cabinets have stayed popular for good reason. They work with almost every kitchen style, from farmhouse to modern to transitional. White reflects light, which makes smaller kitchens feel spacious. It also pairs with any countertop color or backsplash you might choose down the road.
That said, if you want something slightly different, warm neutrals like mushroom, taupe, pale cream, and soft greens are gaining ground. But if you’re going classic and timeless, white is still the safest bet.
The Honest Truth About Painting vs. Replacing
Before you commit to painting, let’s be real: cabinet painting is a solid alternative to replacement, but it’s not a five-minute job. You’re looking at a multi-step process that requires patience.
Related: How to Paint Baseboards: A Step-by-Step Guide
Related: Best Paint for Trim and Baseboards: Complete Guide 2026
Related: How Often to Pressure Wash Your House: Complete Guide
Related: How to Paint Aluminum Siding: Step-by-Step Guide
Related: Best Deck Stain Colors: Your Complete 2026 Guide
Related: Stucco Repair and Painting: A Complete Guide
Related: What Grit Sandpaper Before Painting: Complete Guide
Related: How to Paint a Garage Door: Step-by-Step Guide
The payoff? You’ll spend significantly less than new cabinets while getting a totally refreshed look. If your cabinet bones are solid and you just want a color change, painting makes sense. If your cabinet doors are warped, the hinges are failing, or the wood is rotting, replacement might be the smarter long-term move.
Step 1: Clean Your Cabinets Thoroughly
This is the step people skip, and it’s why projects fail. Your cabinets have years of grease, dust, and cooking residue on them. If you paint over that, the paint won’t stick properly.
Use hot soapy water and a soft cloth to wipe down every surface. For stubborn grease, a degreasing cleaner works well. Let everything dry completely before moving to the next step. This might take 24 hours depending on humidity.
Step 2: Sand the Cabinet Surfaces
Sanding roughens up the glossy finish on your cabinets so primer and paint can grab hold. You don’t need to sand down to bare wood. Just enough to dull the finish and help everything adhere.
Use medium-grit sandpaper (around 120-150 grit) and sand all painted surfaces, edges, and fronts. This is tedious, but it’s non-negotiable. Vacuum or wipe away all dust when you’re done.
Step 3: Prime Before You Paint
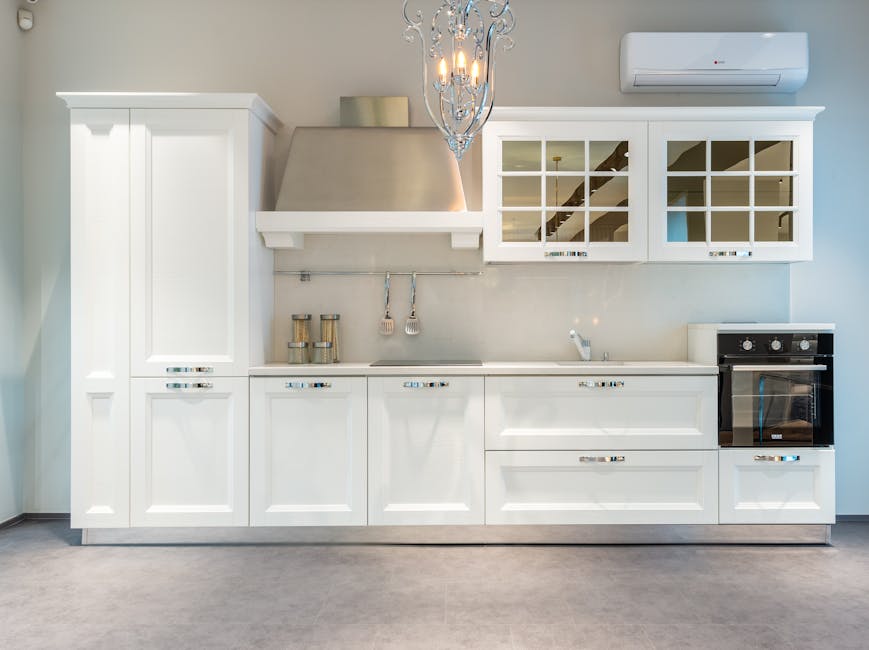
Primer is not optional. It seals the wood, covers stains, and gives your paint a solid foundation. Without primer, you might need three or four coats of paint to get good coverage. With primer, two coats of quality paint usually do the job.
For cabinet work, a bonding primer designed for glossy surfaces is your friend. Apply primer with a brush or spray. Let it dry per the manufacturer’s instructions (usually 1-2 hours).
Step 4: Choose the Right Paint Type and Finish
Not all paint is created equal for kitchen cabinets. You need a high-quality enamel paint designed for cabinets and trim. Enamels are tougher and more durable than standard wall paint, which matters in a kitchen where your cabinets get touched, splashed, and exposed to heat.
Always choose a glossy or semi-gloss sheen for cabinets. Flat or matte finishes look nice initially but they’re harder to clean and don’t hold up to kitchen wear and tear. Glossy finishes are more durable, washable, and easier to wipe down when things get messy.
Step 5: Apply Paint Like a Pro
Here’s where technique matters. A paint sprayer gives you a factory-smooth, even finish that’s hard to achieve with a brush alone. Brushstrokes and roller marks are visible on cabinets, but sprayed finishes look flawless.
If you’re using a brush, use a quality brush with angled bristles and apply thin, even coats rather than one thick coat. Let each coat dry fully before applying the next.
Apply at least two coats of paint. Three coats gives you better coverage and durability, especially on white where you can see every imperfection.
Step 6: Let Everything Cure Properly
This is another patience step. Even after paint feels dry to the touch, it needs time to fully cure. Depending on the paint, that could be 24-48 hours or even longer. Don’t hang cabinet doors or stack items on shelves until the paint has fully hardened.
Should You Hire a Professional?

Cabinet painting is absolutely a DIY-able project if you’re willing to invest the time and attention to detail. Many homeowners tackle this successfully. But here’s the reality: professional painters have the equipment, experience, and skill to deliver results faster and with a higher chance of a flawless finish.
A professional team will have commercial-grade sprayers, proper ventilation setups, and years of experience handling different cabinet styles and paint types. They also handle all the prep work, which is the most time-intensive part of the job.
If you decide to go pro, Nu-Trend Painting Inc serves the St. Petersburg and Pinellas County area and handles cabinet painting as part of their interior service menu. They can assess your specific cabinets, recommend the best approach, and give you a realistic timeline.
Common Mistakes to Avoid
Skipping the primer is mistake number one. Trying to paint over a glossy finish without sanding is mistake number two. Applying paint too thickly and getting drips is number three. And rushing the drying time between coats creates adhesion problems.
Also, don’t cheap out on paint quality. Budget paint will chip, peel, and look dull faster. Cabinet paint takes a beating, so mid-range to premium enamels are worth the extra investment.
How Long Will White Cabinets Stay Looking Good?
With proper prep and quality paint, painted cabinets can look great for 5-7 years or longer. White shows dirt and fingerprints more than darker colors, so you’ll want to wipe them down regularly with a soft, damp cloth.
The longevity also depends on kitchen traffic and use. A kitchen that gets heavy use will show wear sooner than a light-use kitchen. But overall, a professional paint job holds up better and lasts longer than a hastily done DIY project.
When to Call in a Professional
If your cabinets have detailed molding, raised panels, or lots of curves, professional spraying is worth every penny. Those details are difficult to paint smoothly by hand. Also, if you want your kitchen in use while work happens, professionals can work faster and cleaner with proper containment and ventilation.
For a free estimate on your kitchen cabinet painting project in the St. Petersburg and Pinellas County area, reach out to Nu-Trend Painting Inc. They can walk you through options, discuss paint choices, and give you a realistic timeline and cost breakdown based on your specific cabinets and kitchen size.
Related: Cost to Paint Kitchen Cabinets: Budget Breakdown 2026
Key Takeaways
- Clean, sand, prime, then paint. Don’t skip steps.
- Use quality enamel paint in a glossy finish for durability.
- Two coats minimum, three coats for best results.
- Spraying produces better results than brushing.
- Let paint cure fully before using your cabinets.
- White stays timeless, but warm neutrals are trending.
How long does it take to paint kitchen cabinets white?
A DIY project typically takes 1-2 weeks when you factor in cleaning, sanding, priming, painting multiple coats, and drying time between each step. Professional painters can often finish in 3-5 days depending on kitchen size and cabinet complexity.
Can you paint cabinets without sanding?
Technically, yes, but you’re asking for trouble. Sanding helps paint adhere to glossy surfaces. Without it, paint is more likely to peel or chip within a year. If you absolutely must skip sanding, use a bonding primer specifically designed for glossy finishes, but even then, your results won’t be as durable.
What’s the best paint for white kitchen cabinets?
Look for a high-quality cabinet enamel or trim enamel in a glossy or semi-gloss sheen. Brands that specialize in cabinet-grade enamels tend to perform better than standard wall paint. Check the label to confirm it’s designed for kitchens and cabinets, and that it offers good durability and washability.
Do white cabinets show dirt and stains easily?
Yes, white shows fingerprints, dust, and water spots more than darker colors. Regular wiping with a soft, damp cloth keeps them looking fresh. Glossy finishes are easier to clean than flat finishes, so stick with a glossy sheen for your cabinet paint.