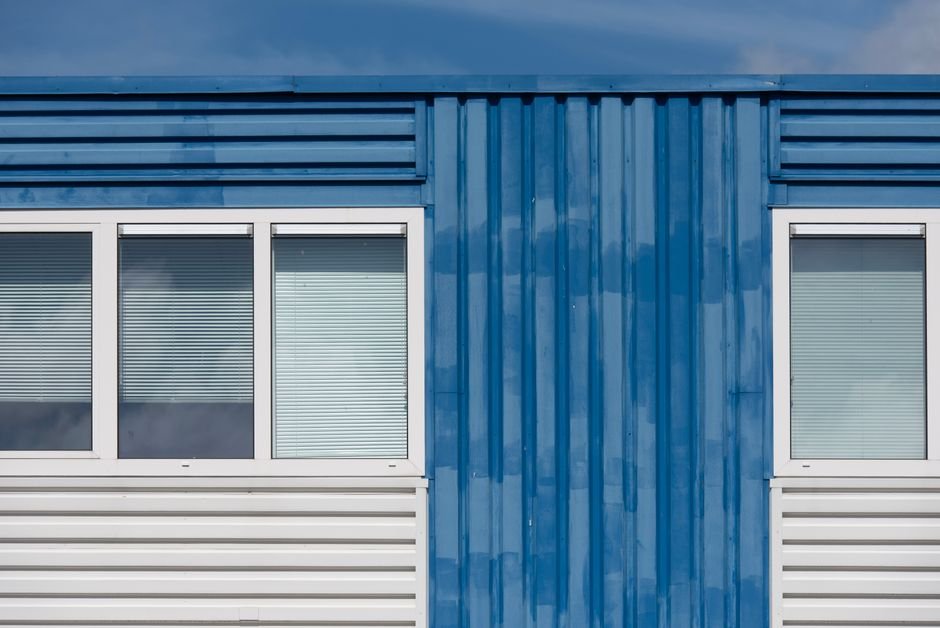
Painting aluminum siding is totally doable, but it’s not quite the same as painting other surfaces. Aluminum has a slick finish that paint doesn’t naturally stick to, so you need a solid game plan. The key steps are cleaning thoroughly, sanding the surface, using a specialty primer, and applying at least two coats of paint. Done right, your aluminum siding will look refreshed and protected for years.
Why Aluminum Siding Needs Special Attention
Aluminum is smooth and non-porous, which means regular paint will sit on top like water on a duck’s back. It won’t adhere properly, and you’ll end up with peeling, flaking paint within a year or two. That’s why Nu-Trend Painting Inc always stresses that the prep work and primer selection are half the battle.
Related: How to Paint Baseboards: A Step-by-Step Guide
Related: How to Hire a Painting Contractor: A Step-by-Step Guide
Related: How to Prep Walls Before Painting: Step-by-Step Guide
Related: How to Caulk Before Painting: Step-by-Step Guide
Related: How to Remove Mold Before Painting: Step-by-Step Guide
Related: How to Paint Kitchen Cabinets White: A Complete Guide
Related: How to Paint a Garage Door: Step-by-Step Guide
The good news? If you follow the right process, paint will bond beautifully to aluminum. You just can’t skip steps or cut corners on materials.
Step 1: Inspect and Clean Your Aluminum Siding
Start by walking around your house and looking at the current condition. Are there areas where paint is already peeling? Is the siding dirty, moldy, or covered in chalky oxidation? These details matter for your game plan.
Next, clean the siding thoroughly. Use a pressure washer on a low setting (around 1,500 PSI) to remove dirt, mold, mildew, and any loose paint. Stay at least 12 inches away from the surface to avoid damage. If you don’t have a pressure washer, a stiff-bristled brush and mild detergent mixed with water will work, though it’ll take more elbow grease.
Let the siding dry completely before moving to the next step. Moisture trapped under paint will cause adhesion problems and future failure.
Step 2: Sand the Surface
This step is crucial and often gets skipped by DIYers. After cleaning, sand the aluminum siding lightly with 120-150 grit sandpaper. You’re not trying to remove all the old paint, just roughing up the surface so primer and paint have something to grip onto.
Use a sanding block or pole sander to keep pressure even. Work in small sections and wipe away dust with a damp cloth as you go. Let everything dry again before priming.
Step 3: Apply a Specialty Aluminum Primer

Here’s where aluminum siding painting gets specific. You absolutely need a primer designed for aluminum surfaces. These primers contain bonding agents that chemically adhere to metal, not just sit on top of it.
Apply the primer in a thin, even coat using a brush, roller, or airless sprayer. If you’re using a brush or roller, expect it to take longer and require more care to avoid lap marks. An airless sprayer is faster and gives a more professional finish, especially across large areas.
Don’t skip the primer step. We’ve seen too many DIY jobs fail because someone thought they could paint directly over aluminum. It doesn’t work.
Step 4: Paint With Two Coats Minimum
Once the primer is dry (follow the manufacturer’s time recommendation, usually 1-4 hours), it’s time to paint. Use an exterior-grade acrylic latex or urethane paint formulated for metal surfaces.
For your first coat of paint, add a bonding agent (like Emulsa Bond) to enhance adhesion to the aluminum. This is a game-changer for durability. Mix it according to product instructions, then apply your first coat evenly across the siding.
After the first coat dries completely, apply a second coat using regular paint without the bonding agent. Two coats ensure even color coverage and better protection against the elements.
Application Method: Spraying vs. Brush and Roller
You have two main ways to apply primer and paint to aluminum siding.
Brush and Roller work for smaller projects or spot repairs. They’re slower, require more technique to avoid visible brush marks, and can be physically demanding. But they’re affordable and give you fine control.
Airless Sprayer is the pro choice for whole-house siding. It applies paint faster, more evenly, and with fewer visible marks. If you’re tackling the whole exterior, renting an airless sprayer will save time and frustration. Professional painters like Nu-Trend Painting Inc use airless equipment as standard because it delivers superior results.
Color Selection and Maintenance

The great news? You can paint aluminum siding virtually any color you want. Lighter colors reflect heat better and are easier to touch up if needed. Darker colors can absorb more heat in hot climates, potentially causing slight expansion issues over time, so keep that in mind based on where you live.
After painting, inspect your work within a few weeks. Touch up any spots where primer shows through or where coverage looks thin. Regular maintenance, like gentle cleaning with a soft brush every couple of years, will keep your paint looking fresh and help it last longer.
Common Mistakes to Avoid
Skipping the primer is mistake number one. We cannot stress this enough. Paint alone will not adhere to aluminum properly.
Painting in extreme heat or cold is mistake number two. Most primers and paints need temperatures between 50°F and 85°F to cure correctly. Painting in direct sunlight or rain will cause adhesion and finish problems.
Not preparing the surface properly is mistake number three. Dirt, mildew, and oxidation create a barrier between primer and the metal. If you skip cleaning and sanding, the paint will fail no matter how good the product is.
Finally, using only one coat of paint and skipping primer or bonding agents will almost guarantee peeling within a year or two. The time and cost difference between a one-coat job and a proper two-coat job with primer is minimal, but the durability difference is huge.
When to Call a Professional
If your home has two or three stories, painting aluminum siding gets dangerous. Ladder safety is serious business. If you’re uncomfortable with heights or the scope feels too large, hiring a professional painter is the smart move.
You should also consider professional help if your siding has extensive damage, mold, or oxidation that needs specialized cleaning or repair. Nu-Trend Painting Inc handles aluminum siding painting throughout St. Petersburg and Pinellas County, and a free estimate will give you realistic expectations on cost and timeline.
Frequently Asked Questions
Can you paint aluminum siding without priming?
Technically, you can try, but it will almost certainly fail. Paint won’t adhere properly to aluminum’s slick surface without a specialty primer designed for metal. Primer is not optional if you want results that last.
How long does painted aluminum siding last?
If prepped and applied correctly, painted aluminum siding typically lasts 8-12 years before needing a refresh. Quality paint, proper maintenance, and local climate all play a role. Harsh coastal environments may require more frequent touch-ups.
What’s the best paint for aluminum siding?
Look for exterior-grade acrylic latex or urethane paint specifically rated for metal surfaces. These formulas have better adhesion and flexibility than standard house paint. Check the label to confirm it’s recommended for aluminum.
Do I need to remove old paint before repainting aluminum siding?
Not necessarily. If the old paint is in good condition and firmly adhered, you can paint over it after cleaning and sanding. However, if paint is peeling, chalky, or loose in large areas, remove it first using a paint scraper or pressure washer. A clean, stable foundation is essential for new paint to stick.